APPROVE THE COOLED PART
A clean bend is decided after cooling.
Reaching the angle is only the forming step. The finished part must still keep its radius, straightness, surface, optical appearance, and fit.
A bend is not approved when it reaches the angle. It is approved when the cooled part keeps its angle, radius, straightness, and appearance.
Many acrylic bends look correct for the first few seconds. The sheet reaches the required angle, the operator removes it from the jig—and then the real problems appear. A clear bend develops a white line. Bubbles show up inside the heated zone. One leg opens as the part cools, or a long bend twists instead of staying square.
The usual reaction is to change the temperature. That may help, but temperature alone is rarely the full answer. A clean acrylic bend comes from matching the material, thickness, bend radius, heated zone, tooling, cooling method, and visual requirement to the finished part. The required angle is only one part of the specification.
Quick Answer: Control the Zone, the Geometry, and the Cooldown
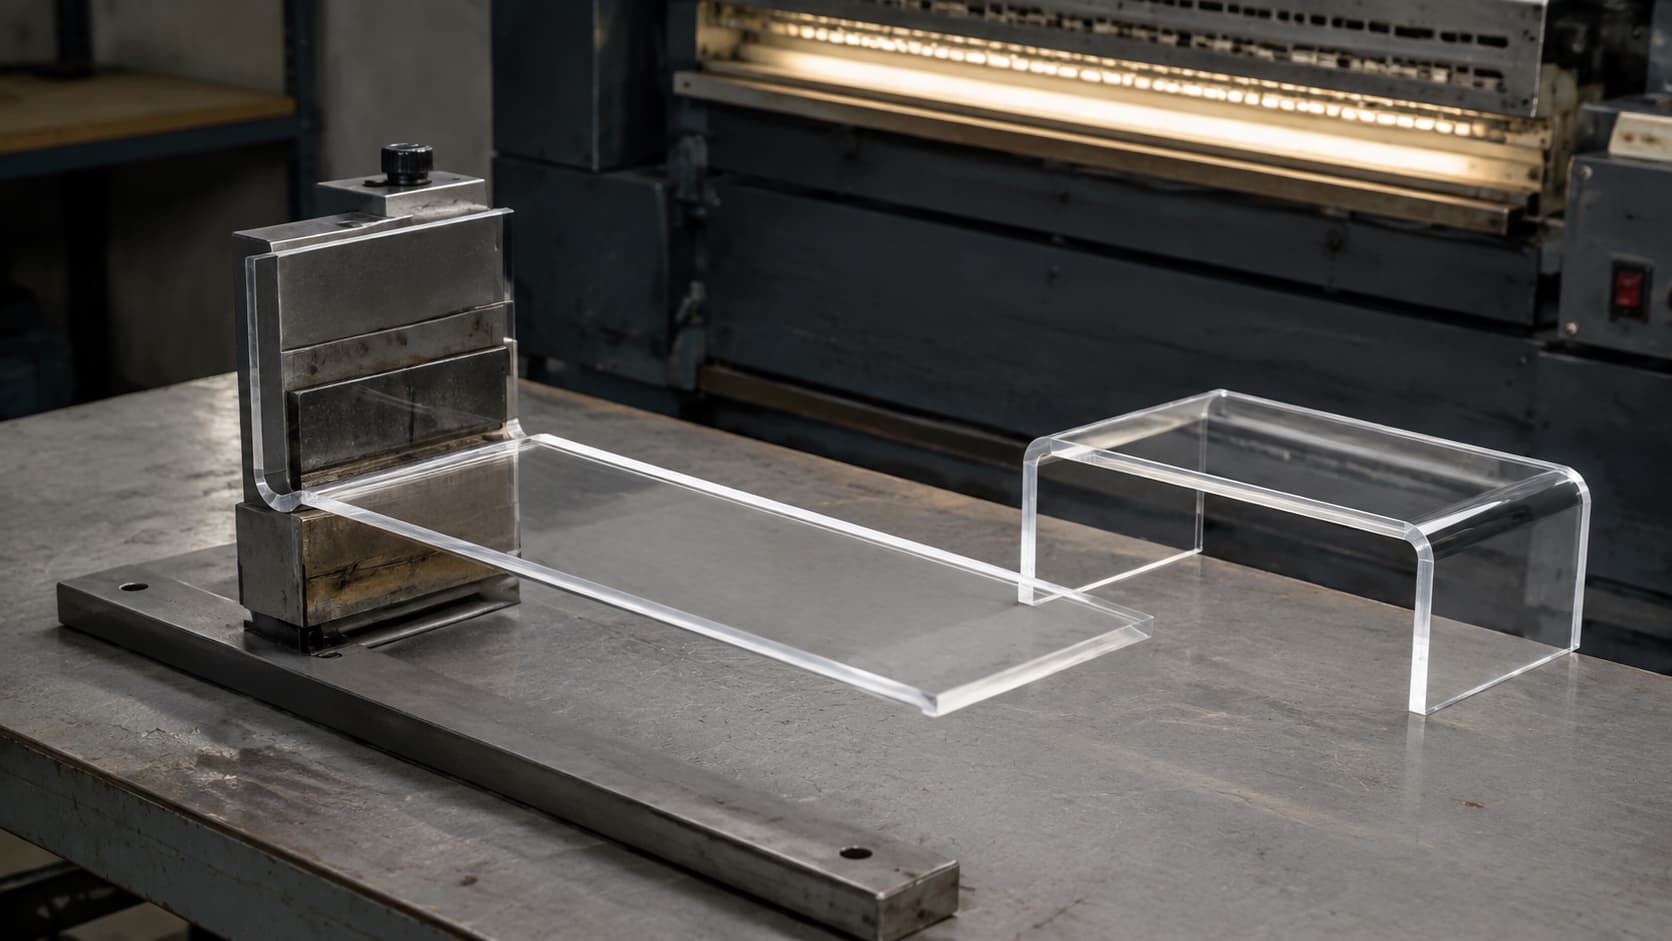
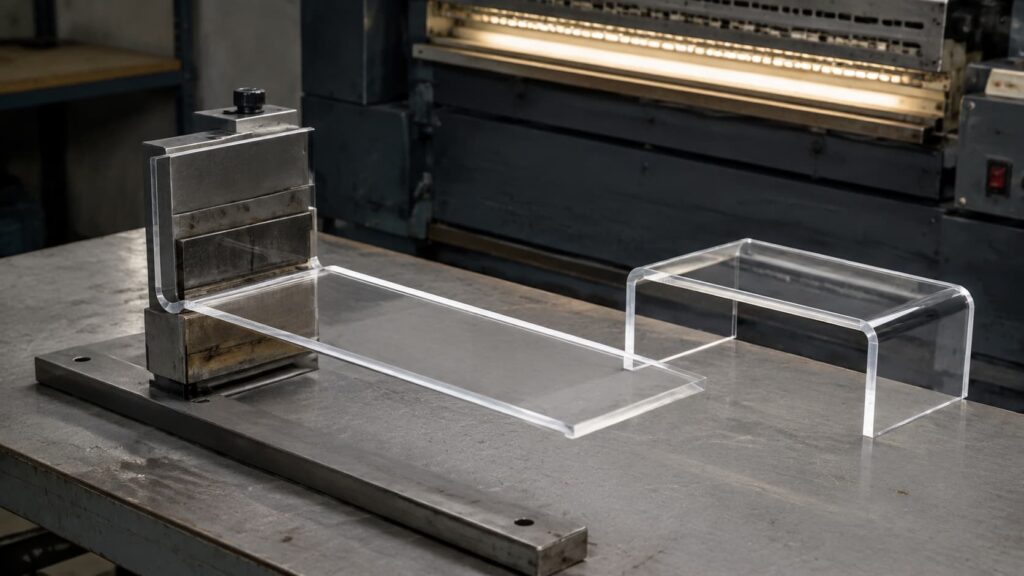
For one straight, repeatable fold, line bending is usually the first method to evaluate. For a broad curve, controlled contour, or three-dimensional form, the sheet normally needs a larger heated area and a mold. If neither route produces the required geometry or appearance reliably, a bonded assembly or another part design may be the better answer.
Before bending begins, confirm the exact acrylic grade, thickness, inside radius, bend-line length, leg dimensions, critical visible face, and later operations such as drilling, printing, polishing, or bonding. Then make a representative sample and inspect it after cooling.
The official PLEXIGLAS® bending and forming guide separates linear heating from surface heating. It also recommends preparing the mold in advance, testing the heating arrangement on a sample, protecting the surface, and allowing the formed sheet to cool in a controlled way.[1]
Choose the Bend Type Before Choosing the Heat Setting
The most useful first question is not “What temperature should I use?” It is “What shape am I trying to make?”
| Forming Route | Best Starting Point For | What Controls the Result | Main Risks to Review |
|---|---|---|---|
| 01Line Bending | One or more straight folds in brackets, stands, covers, trays, and display parts | Heated-zone width, bend-line uniformity, inside radius, jig position, and cooling support | White stress lines, a tight inner crease, a bowed bend line, twist, or angle drift |
| 02Area Heating and Thermoforming | Broad curves, deeper contours, rounded covers, and shapes that cannot be made along one narrow line | Even heating through the required area, mold geometry, surface contact, forming sequence, and cooling | Uneven wall shape, surface mark-off, optical distortion, shrinkage, or warpage |
| 03Alternative Construction | Parts whose radius, size, coating, finish, or tolerance makes bending unnecessarily risky | Joint design, profile selection, mechanical assembly, or a revised part layout | Visible joints, added assembly work, or a change in appearance |
A gentle cold curve is not the same as a cold line bend. Some sheets can be installed in a large-radius curve while held under continuous restraint, but that does not mean a thin sheet can be folded sharply without heat. The permissible approach depends on the exact grade, radius, application, and installation design.
There is also no prize for forcing a design to remain one piece. If a very large panel needs a tight bend, or a special surface cannot tolerate the intended forming process, dividing the part or using a bonded construction may reduce risk.
How to Bend Acrylic Sheet: A Production-Oriented Process
“Acrylic” is not a complete process specification. Cast and extruded sheets should not automatically share one setup, and textured, mirror-backed, coated, or printed products add further variables. Confirm the grade, thickness, surface, radius, bend length, and critical face together. The guides to cast vs. extruded acrylic and acrylic sheet thickness provide useful background, but the final settings must follow the actual sheet, equipment, and drawing.
- 1
Define the finished geometry
Record the angle, inside radius, leg lengths, bend-line length, bend direction, critical face, and cooled-part tolerance.
- 2
Verify the material and process order
Confirm the grade and surface, then decide when cutting, drilling, polishing, printing, bonding, or assembly will occur. These operations can change one another’s risk.
- 3
Make a representative sample
Use the intended grade, thickness, radius, finish, and bend length where practical. A flat color chip cannot approve a visible formed edge.
- 4
Heat and form the correct zone
“Even” heating means along the full bend line and, when required, through the thickness. Form against defined stops or a controlled mold; do not force material that has not softened sufficiently.
- 5
Hold the geometry during cooling
Support the angle, radius, and long edges until stable, using conditions that can be repeated in production.
- 6
Inspect after cooling
Check the angle, radius, straightness, surface, optical appearance, and fit. Inspect visible clear parts under the lighting and viewing direction that matter in service.
If the blank is laser cut before bending, review the bend position, cut-edge condition, holes, slots, and later bonding as one process route. The guide to acrylic sheets for laser cutting explains the cutting side of that decision in more detail.
Common Acrylic Bending Defects: What They May Be Telling You
These symptoms can have more than one cause. Diagnose the material, geometry, heating, tooling, cooling, and downstream process together.
| Visible Defect | Possible Variables to Check | Verify Before the Next Sample |
|---|---|---|
| Crack at or near the bend | Forced too early; radius too tight; heated zone too narrow; machining or later solvent contact added stress | Grade, radius, heat-zone plan, process order, and crack location |
| White line or cloudy bend | Local strain, cold forcing, uneven softening, tight geometry, or grade-specific optical response | Surface vs. internal mark, actual radius, grade, and final lighting |
| Bubbles | Local overheating, excessive heating time, contamination, or material condition and moisture for applicable grades | Storage history, grade guidance, heating method, and bubble location |
| Twisted or non-square bend | Uneven softening along a long line, one side forming first, or a misaligned jig | Bend length, reference edges, heating uniformity, stops, and alignment |
| Tight inner crease or wrong radius | The specified radius, heated-zone width, and tool radius do not match | Drawing radius, mold or jig radius, heated zone, and the cooled result |
| Surface mark-off | Dirty or rough tooling, unsuitable contact material, trapped debris, or a surface or coating that needs different handling | Critical face, mold condition, surface protection, and inspection lighting |
| Angle drift or bow after cooling | Premature release, uneven cooling, unsupported long edges, or thermal imbalance | Measure only after cooling; verify fixture support, release point, bend length, and straightness criterion |
Why a Flat Sample Cannot Approve a Bent Part
A flat swatch can confirm color, transparency, texture, or coating. It cannot show whether the heated area will turn cloudy, a printed graphic will move, a mirror backing will tolerate the process, or the cooled angle will remain stable.
A flat swatch can confirm
- Color and transparency
- Texture or coating
- Unformed surface appearance
A formed sample must also confirm
- Intended radius and bend length
- Heated-zone appearance under final lighting
- Nearby print, machining, polishing, bonding, or assembly
- Angle, straightness, fit, and appearance after cooling
One successful prototype proves that the bend is possible. A controlled fixture, approved reference sample, and inspection plan are what make it repeatable.
What to Prepare Before Requesting a Bending Quote
“90° bend” is not a production-ready specification. It gives an angle, but it does not define the finished geometry, orientation, visible surface, nearby features, or acceptance condition.
If the best forming route is not yet clear, send the drawing rather than guessing the method. Grandview Acrylic can review the material requirement and proposed fabrication sequence before the final specification and quotation are confirmed.
DRAWING REVIEW
Send the conditions a degree symbol cannot describe.
Include the CAD or PDF drawing, material and finish, cooled-part requirements, quantity, and any cutting, printing, bonding, or assembly near the bend.
Frequently Asked Questions
What temperature should acrylic be bent at?
There is no reliable universal temperature for every sheet. The forming range and heating time depend on the grade, thickness, method, equipment, and temperature measurement. Use the supplier’s data and confirm the setup with a representative test piece. The Forming PLEXIGLAS® technical guidelines show why grade-specific guidance matters; their figures are not universal settings for every PMMA sheet.[2]
Can acrylic sheet be bent without heat?
A sharp cold line bend is different from a sheet installed in a gentle, large-radius cold curve. Do not assume that a thin sheet can be folded sharply without damage. The exact grade, radius, stress, installation support, and optical requirement must be checked.
Why does acrylic turn white when bent?
Whitening may indicate excessive local strain, cold forcing, insufficient or uneven softening, a tight radius, or a grade-specific material response. First identify whether the white mark is a surface change, an internal stress line, or ordinary optical distortion from the curve.
Why do bubbles appear while acrylic is heating?
Local overheating is one possible cause, but not the only one. Excessive heating time, contamination, storage condition, and absorbed moisture in applicable grades can also contribute. Check the material history and where the bubbles formed before changing only one machine setting.
Should acrylic be cut before or after bending?
It depends on the drawing. Cutting first can establish blanks, holes, or reference edges, but forming may move features or change fit. Cutting later may simplify control for some designs. Review datums, slots, bend position, final trimming, and bonding as one process.
Conclusion: Approve the Cooled Part, Then Lock the Process
Bending acrylic cleanly is not a matter of finding one magic temperature. It is a controlled relationship between material identity, thickness, radius, heated zone, tooling, cooling, surface requirements, and the operations that follow.
Choose the method from the finished geometry. Approve a representative formed sample rather than a flat swatch. Measure the part after cooling, and use the accepted sample, fixture, and inspection criteria to guide repeat production.
FROM BEND CALLOUT TO PART RELEASE
Approve the cooled part. Then lock the process that made it.
If you are sourcing acrylic sheets, cut blanks, or drawing-based fabricated parts, send the CAD or PDF drawing together with the material, thickness, bend geometry, visible-face requirement, quantity, and later processing steps.
Request an Acrylic Bending ReviewTECHNICAL SOURCES
References and Further Reading
- [1]Bending and Forming PLEXIGLAS®
Source: PLEXIGLAS® / POLYVANTIS. Supports the distinction between linear and surface heating, sample trials, prepared molds, surface protection, and controlled cooling.
View Source - [2]Guidelines for Workshop Practice: Forming PLEXIGLAS®
Source: PLEXIGLAS® / POLYVANTIS. Provides grade-specific context for heating, forming, tooling, radii, and cooling. Its figures should not be treated as universal settings for every PMMA sheet.
View Source
Material behavior, forming settings, bend radius, tolerance, and process limits remain grade-, supplier-, equipment-, and project-specific. Confirm the material, drawing, representative bent sample, and cooled-part acceptance criteria before production.