ACRYLIC ENGRAVING · FINISH SPECIFICATION
The material starts the decision. The approved finish completes it.
Cast acrylic is usually the first choice for a bright frosted mark. But repeatable engraving also depends on the exact grade, viewing face, artwork, lighting, and processed sample.
Choose the finish before the settings.
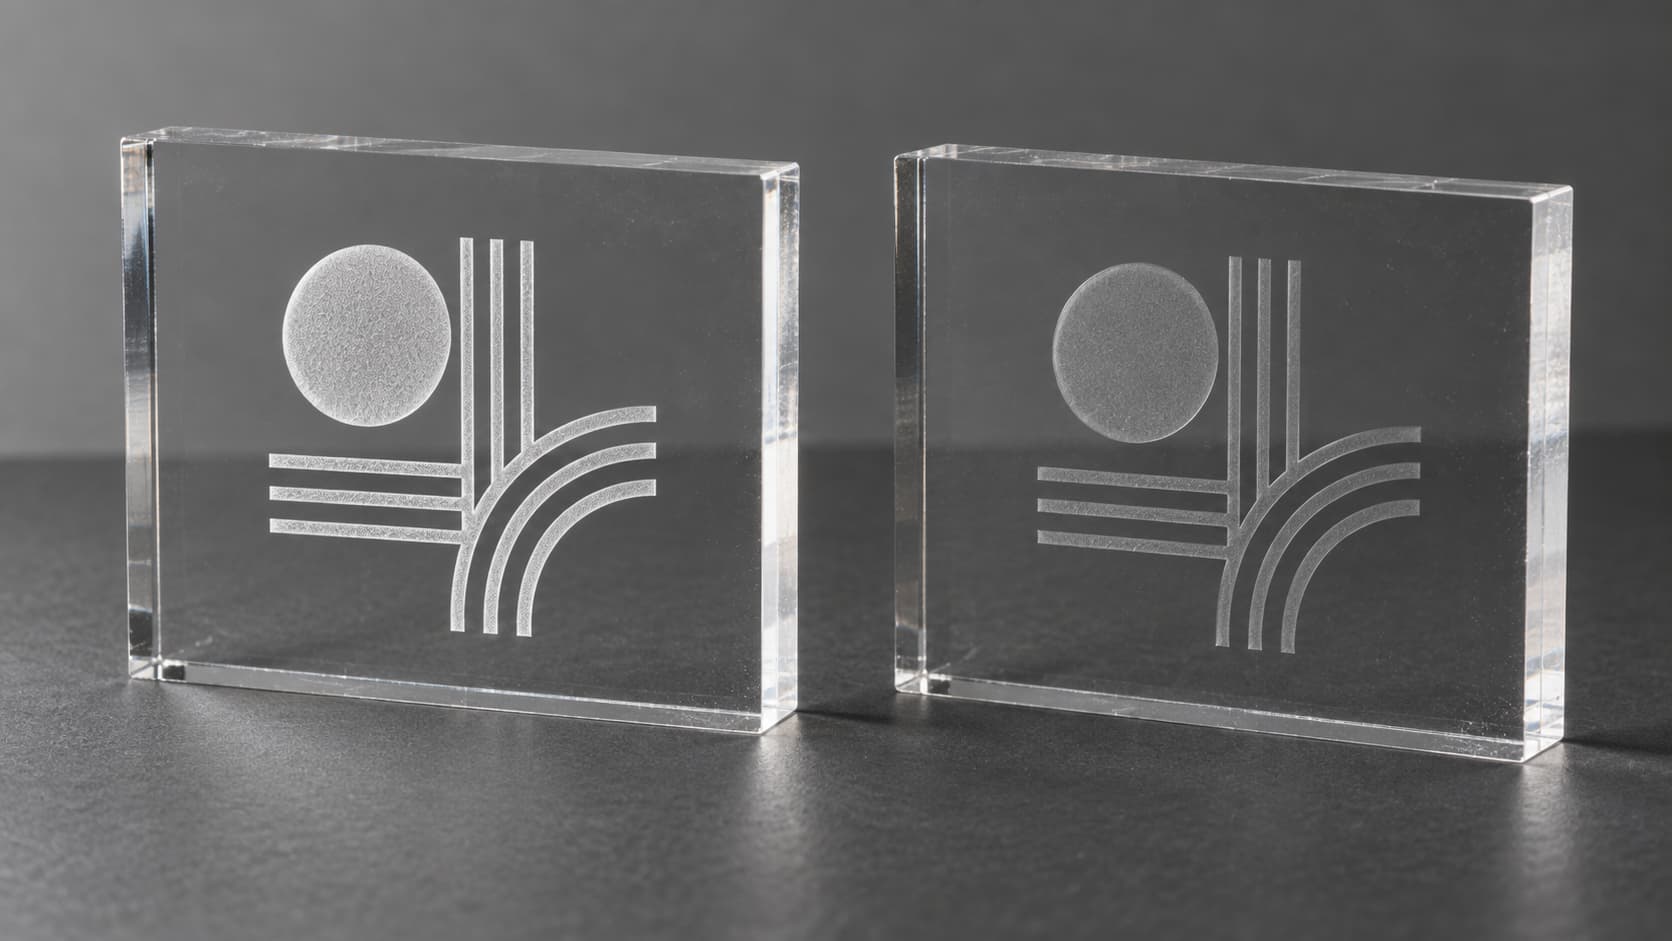
For a bright, frosted engraving, cast acrylic is usually the best starting point. Extruded acrylic can still be engraved, but it more often produces a clearer, grayer, or lower-contrast mark. That comparison is useful, but it is not a complete production specification.
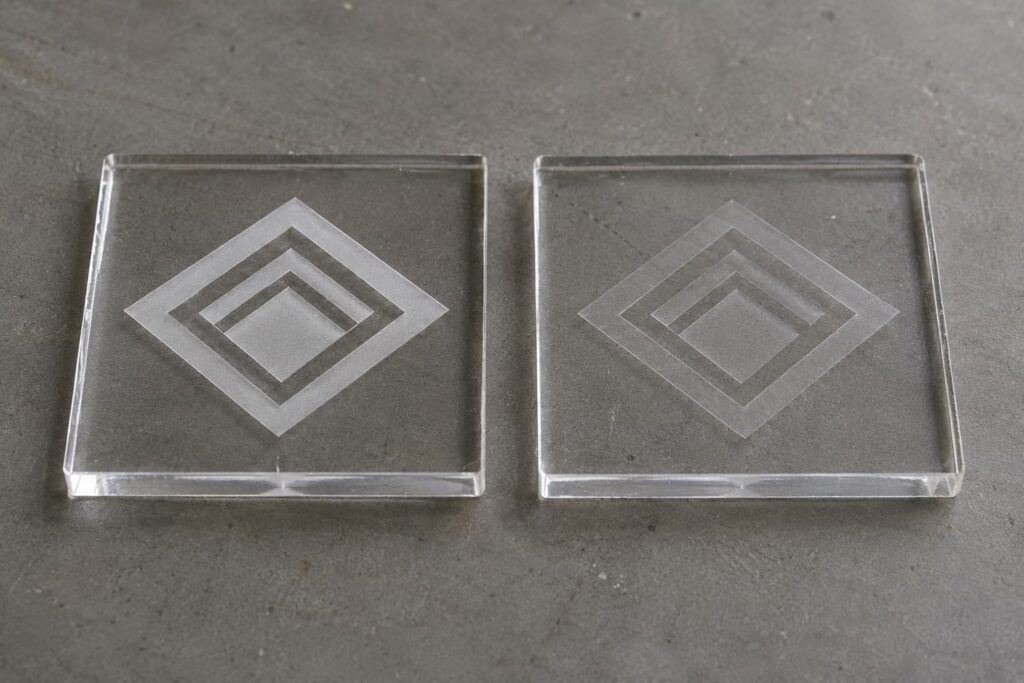
The finished appearance also depends on the exact acrylic grade and color, the laser wavelength, which side is engraved, the artwork, the backing and lighting, and the sample approved for production. A design can be technically laser-ready and still be visually wrong.
Start With the Engraving Finish, Not a Generic Setting
“Laser engraved” describes a process, not a single appearance. Two parts carrying the same artwork may look different if one is front engraved and the other is viewed through a smooth front surface, or if one is judged under room light and the other is edge-lit.
Use the matrix below to define the visual target before discussing power, speed, or resolution.
| Target Finish | Practical Starting Point | What the Sample Must Prove |
|---|---|---|
| Bright frosted or white mark | Cast acrylic Choose front or reverse engraving. | Contrast, texture, small-detail clarity, and consistency across the marked area. |
| Clear, gray, or subtle mark | Extruded acrylic or a tested specialty grade Define the required contrast against the final background. | The mark remains readable under the intended lighting and viewing distance. |
| Smooth viewing face | Reverse / second-surface engraving Mirror directional artwork. | Correct orientation, a clean front face, and compatibility with backing or paint fill. |
| Edge-lit graphic | Tested clear or colored acrylic Define LED position, viewing angle, and background. | The installed appearance with the actual light both on and off. |
Cast vs. Extruded Acrylic for Laser Engraving
Cast acrylic is formed by polymerizing liquid material in a mold or between sheets, while extruded acrylic is continuously formed through a die. That manufacturing difference influences thickness control and how the surface responds to laser energy. For a broader material comparison, see Cast vs. Extruded Acrylic Sheets.
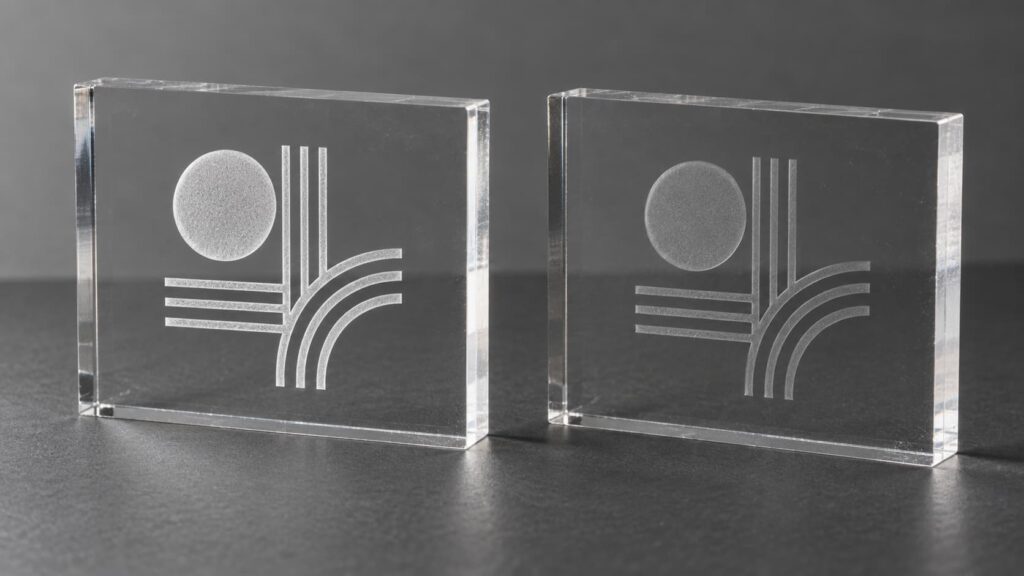
Trotec’s acrylic processing guidance and Epilog’s acrylic application guide identify cast acrylic as the common choice when a white, frosted engraving is wanted.[1][2] Extruded acrylic generally gives a less frosted, lower-contrast result. This is why awards, plaques, branded panels, and many illuminated graphics often begin with a cast-grade sample.
The choice changes when engraving is only one part of the project. An assembly may also require consistent sheet thickness, closely fitted slots, efficient cutting, or a specified supplied grade. Extruded acrylic can be attractive in those situations and should not be rejected simply because its engraving looks different.
| Decision Factor | Cast Acrylic | Extruded Acrylic | Production Implication |
|---|---|---|---|
| Typical engraving appearance | More visibly frosted and white | More transparent, gray, or subtle | Choose by required contrast, then test the exact grade. |
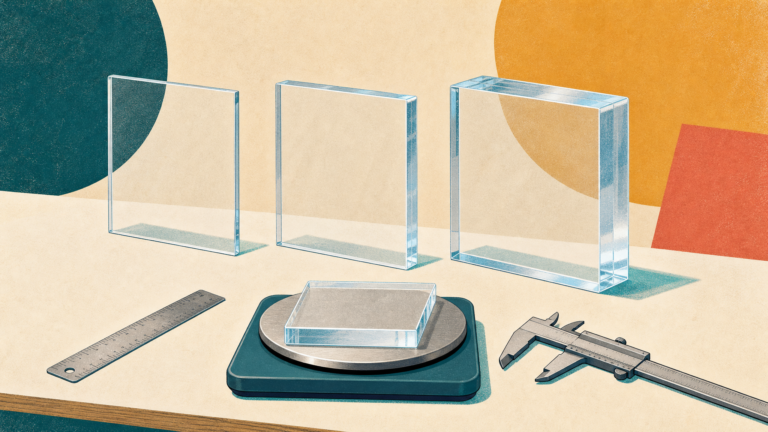
| Thickness behavior | Grade-specific; commonly has wider sheet-to-sheet variation | Commonly selected where tighter gauge control matters | Measure actual material for slots, tabs, and flush assemblies. |
| Combined cutting and engraving | Often suitable; edge result depends on the complete process | Often evaluated for cutting efficiency and thickness consistency | Do not select the sheet from an engraving photograph alone. |
| Best starting use | High-contrast graphics and text | Subtle marks or projects dominated by cutting and fit | Approve the completed part, not an isolated swatch. |
Cut-edge quality deserves a separate decision from engraving contrast. Material grade, thickness, color, focus, speed, extraction, and machine configuration all influence the edge.[3] If the project includes substantial cutting, use the dedicated Acrylic Sheets for Laser Cutting guide alongside the engraving sample.
Match the Acrylic to the Laser Type
Clear acrylic is commonly processed with a CO₂ laser. The 10.6 μm wavelength used by typical CO₂ systems is absorbed by PMMA, allowing the machine to remove surface material for engraving or cut through the sheet. Plaskolite’s OPTIX-L fabrication guide also distinguishes raster engraving from vector processing and emphasizes focus and material-specific setup.[4]
Visible blue diode lasers behave differently. Clear acrylic transmits much of that visible light, so direct engraving may be weak, inconsistent, or impractical. Pigments, coatings, and absorptive marking layers can change the interaction, which is why “diode compatible” cannot be decided from the word acrylic alone.
Color matters for both laser compatibility and appearance. A mark that is obvious on black acrylic may disappear on a pale translucent sheet. Mirror, coated, glitter, and embedded-effect acrylics add further variables because the laser may interact with a surface layer or inclusion rather than plain PMMA alone.
Choose the Viewing Side Before Preparing the Artwork
Front engraving creates the texture on the face the viewer touches. It can provide a direct, tactile mark, but the engraved surface is also exposed to handling and cleaning.
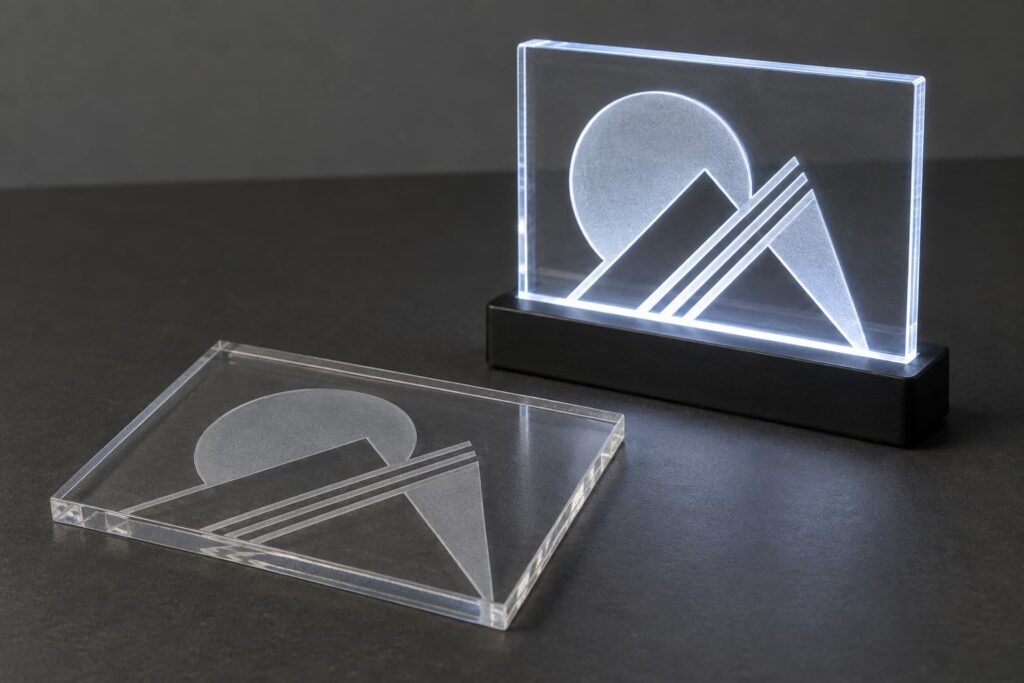
Reverse engraving—also called second-surface engraving—places the mark on the back while it is viewed through the acrylic. The front remains smooth, and the engraved area can be combined with a backing or controlled fill. For text and directional logos, the artwork must be mirrored before engraving so it reads correctly from the front.
An edge-lit panel adds another condition: the same engraved lines may look restrained with the LEDs off and bright when light enters the sheet edge. Approve both states if both will be seen in use.
Design Tips That Change the Finished Engraving
Use raster and vector artwork for different jobs
Raster engraving scans across an area and is useful for filled graphics, photographs, and tonal patterns. Vector paths are useful for outlines, scoring, and cutting. They can exist in the same file, but each process should have a separate, clearly named layer so a cut path is not accidentally engraved—or an engraving line cut twice.
Mirror only what the viewing direction requires
Mirror text and directional graphics for reverse engraving. Do not automatically invert every image. Whether tonal artwork needs inversion depends on the visual effect, backing, and software workflow. A small proof at final size is more reliable than a preview viewed only on screen.
Remove duplicate and overlapping paths
Two identical paths may be almost invisible in the artwork but cause the laser to revisit the same line. That adds heat and can widen, melt, or darken the detail. Clean compound paths, remove hidden duplicates, and separate engraving from cutting before export.
Judge detail at actual size
Thin type, dense hatching, and closely spaced lines can merge after processing even when the source file looks sharp at 400% zoom. There is no universal minimum line width for every machine and acrylic grade. Test the smallest text and densest area at final dimensions, then approve the physical sample.
Design cut-and-engraved parts as assemblies
If the part includes slots, tabs, fasteners, or bonded components, appearance is only one requirement. Actual sheet thickness, cutting allowance, engraving position, and assembly orientation must agree. Nominal thickness alone is not enough for a close-fitting part, particularly when the material source changes.
Common Engraving Problems and What to Recheck
| Observed Result | Likely Variables | First Production Check |
|---|---|---|
| Weak or overly clear mark | Material family or grade, color, energy, viewing side, background | Compare cast and extruded samples with the same artwork and viewing condition. |
| Fine details look swollen | Excess energy, repeated paths, dense fills, poor focus | Remove duplicate vectors and test the densest feature separately. |
| Haze or residue around the mark | Extraction, masking film, debris, focus, cleaning method | Test the approved masking condition and compatible cleaning sequence. |
| Text reads backward | Viewing direction and file orientation were not defined | Mark the viewing face on the drawing and mirror reverse-engraved text. |
| Uneven edge-lit graphic | Line density, engraving position, LED geometry, background | Evaluate the complete assembly with the intended LEDs and diffuser. |
| Cracks or crazing after finishing | Laser-induced stress plus an incompatible cleaner, fill, or adhesive | Test the complete post-processing sequence on the engraved sample. |
| Repeat order no longer matches | Grade, supplier, color, thickness, masking, artwork, or process changed | Review change records and reapprove a finish-critical sample. |
One-variable-at-a-time testing matters. Research on CO₂ laser processing of PMMA shows that power, speed, and processing direction can interact, while the settings that improve one quality measure may not optimize another.[5] A slower pass is therefore not a universal cure for weak engraving; it may improve contrast while damaging detail or increasing heat effects.
Approve the Processed Sample Before Repeat Production
A raw material sample confirms color and surface. It does not confirm the finished engraving. For repeat production, approve a processed sample made from the intended material and artwork, then connect that sample to a controlled record.
- 1
Define the finish
Record contrast, texture, viewing face, backing, lighting, and final viewing conditions.
- 2
Process the real artwork
Use the intended grade, color, thickness, orientation, and final-size design details.
- 3
Review the assembled result
Inspect the part under the actual lighting and with any fill, backing, cutting, or assembly completed.
- 4
Lock the approval record
Assign a sample ID, artwork revision, material identity, approval date, and change triggers.
A practical engraving finish approval record should include the following fields:
ENGRAVING FINISH APPROVAL CARD
Tie the accepted appearance to an identified sample.
- Material identity
- Manufacturer or supplier, product grade, cast/extruded designation, color, and actual thickness
- Surface setup
- Protective film or mask, engraving side, and viewing direction
- Artwork control
- Filename, revision, scale, outlined text or fonts, and separate process layers
- Visual condition
- Front or reverse finish, backing or fill, lighting state, and viewing distance
- Accepted sample
- Sample ID, approval date, permitted variation, and decision owner
- Production control
- Controlled process revision and post-processing such as cleaning, filling, bonding, or assembly
Reapproval is sensible when the material grade or source changes, the color or thickness changes, the artwork is revised, the engraving moves to the opposite surface, the machine or optical setup changes materially, or the backing and lighting change. These triggers are more useful than treating the first successful sample as approval for every future variation.
What to Send for a Laser-Engraved Acrylic Quote
To evaluate an engraved acrylic panel or component, provide the information that defines the finished result—not only a logo file and nominal thickness.
PROJECT RELEASE CHECKLIST
Send the finish conditions with the artwork.
The material, file, viewing direction, and approval plan should be reviewed as one project.
- ArtworkVector text, logos, outlines, and cut paths; linked raster images at final size
- AcrylicMaterial preference, grade if required, color, thickness, and overall dimensions
- AppearanceFrosted white, subtle clear/gray, reverse engraved, filled, or edge-lit target
- OrientationViewing face, engraving side, backing, and installed lighting condition
- Part scopeQuantity plus cutting, holes, slots, bending, printing, bonding, or assembly needs
- ApprovalReference photograph or sample and the required sample-release process
Frequently Asked Questions
What is the best acrylic for laser engraving?
Cast acrylic is the usual starting point for a bright, frosted white engraving. The best project choice still depends on the required finish, exact grade and color, cutting and fit requirements, viewing side, and lighting. Approve the processed sample rather than specifying “cast” alone.
Can extruded acrylic be laser engraved?
Yes. Extruded acrylic is not unengraveable; it usually produces a clearer, grayer, or less frosted mark than cast acrylic. That lower-contrast effect may be acceptable—or intentional—if it is evaluated against the final background and lighting.
Should acrylic be engraved from the front or the back?
Use front engraving when a direct surface texture is wanted. Use reverse engraving when the visible face should remain smooth or the graphic will be viewed through the sheet. Mirror directional artwork for reverse engraving and approve it with the actual backing.
Can a diode laser engrave clear acrylic?
Clear acrylic transmits much of the visible light from common blue diode lasers, so direct marking is often weak or unreliable. Pigments and approved absorptive layers can change the result, but the exact material and method must be tested. CO₂ lasers are the more established option for clear PMMA processing.
Should the protective film stay on during engraving?
It depends on the film, material, and required finish. Masking may help manage residue in some workflows, while other films can interfere with the mark or may not be suitable for laser processing. Identify the masking material, follow the supplier’s safety guidance, and validate the production condition.
Do settings need to change when the acrylic supplier changes?
Treat a new supplier or grade as a process change. Even when the label still says cast or extruded acrylic, resin formulation, pigment, thickness, surface, and masking may differ. Run a controlled test and reapprove the finish before continuing a repeat order.
Conclusion: Specify the Finish, Then Approve the Process
Cast acrylic is the strongest first candidate for a high-contrast frosted engraving; extruded acrylic remains useful when a subtler mark, thickness control, cutting, or assembly fit matters more. Neither label completes the specification.
Define the finish, viewing side, artwork, lighting, and approval conditions first. Then test the exact acrylic grade and release production against an identified sample.
FROM ARTWORK TO APPROVED FINISH
A laser-ready file is not yet a production-approved part.
Send Grandview Acrylic the target finish, material or color, thickness, artwork, viewing side, lighting condition, quantity, and any cutting or assembly requirements for review.
Request a Material and Artwork ReviewTECHNICAL SOURCES
References and Further Reading
- [1]Tips and Tricks for Processing Acrylic
Source: Trotec Laser. Supports the practical distinction between cast and extruded acrylic in engraving and laser-processing workflows.
View Source - [2]Laser Cutting Acrylic
Source: Epilog Laser. Supports cast acrylic as the common starting choice for a frosted white engraved appearance.
View Source - [3]Machining PLEXIGLAS®
Source: Röhm / PLEXIGLAS®. Supports treating cutting and finishing results as grade- and process-dependent and highlights downstream stress and fabrication considerations.
View Source - [4]OPTIX-L Continuous Cast Acrylic Fabrication Guide
Source: Plaskolite. Supports CO₂-laser processing of PMMA, raster/vector distinctions, focus, masking, and material-specific setup.
View Source - [5]CO₂ Laser Cutting of PMMA Thin Sheets
Source: Ninikas, Kechagias, and Salonitis, Journal of Manufacturing and Materials Processing. Supports the interaction of processing variables and the need to optimize for the intended quality outcome.
View Source
Engraving appearance, laser compatibility, cut-edge quality, thickness behavior, and post-processing remain grade- and project-specific. Confirm the applicable material data and processed sample before production.