ACRYLIC PRINTING · MATERIALS & METHODS
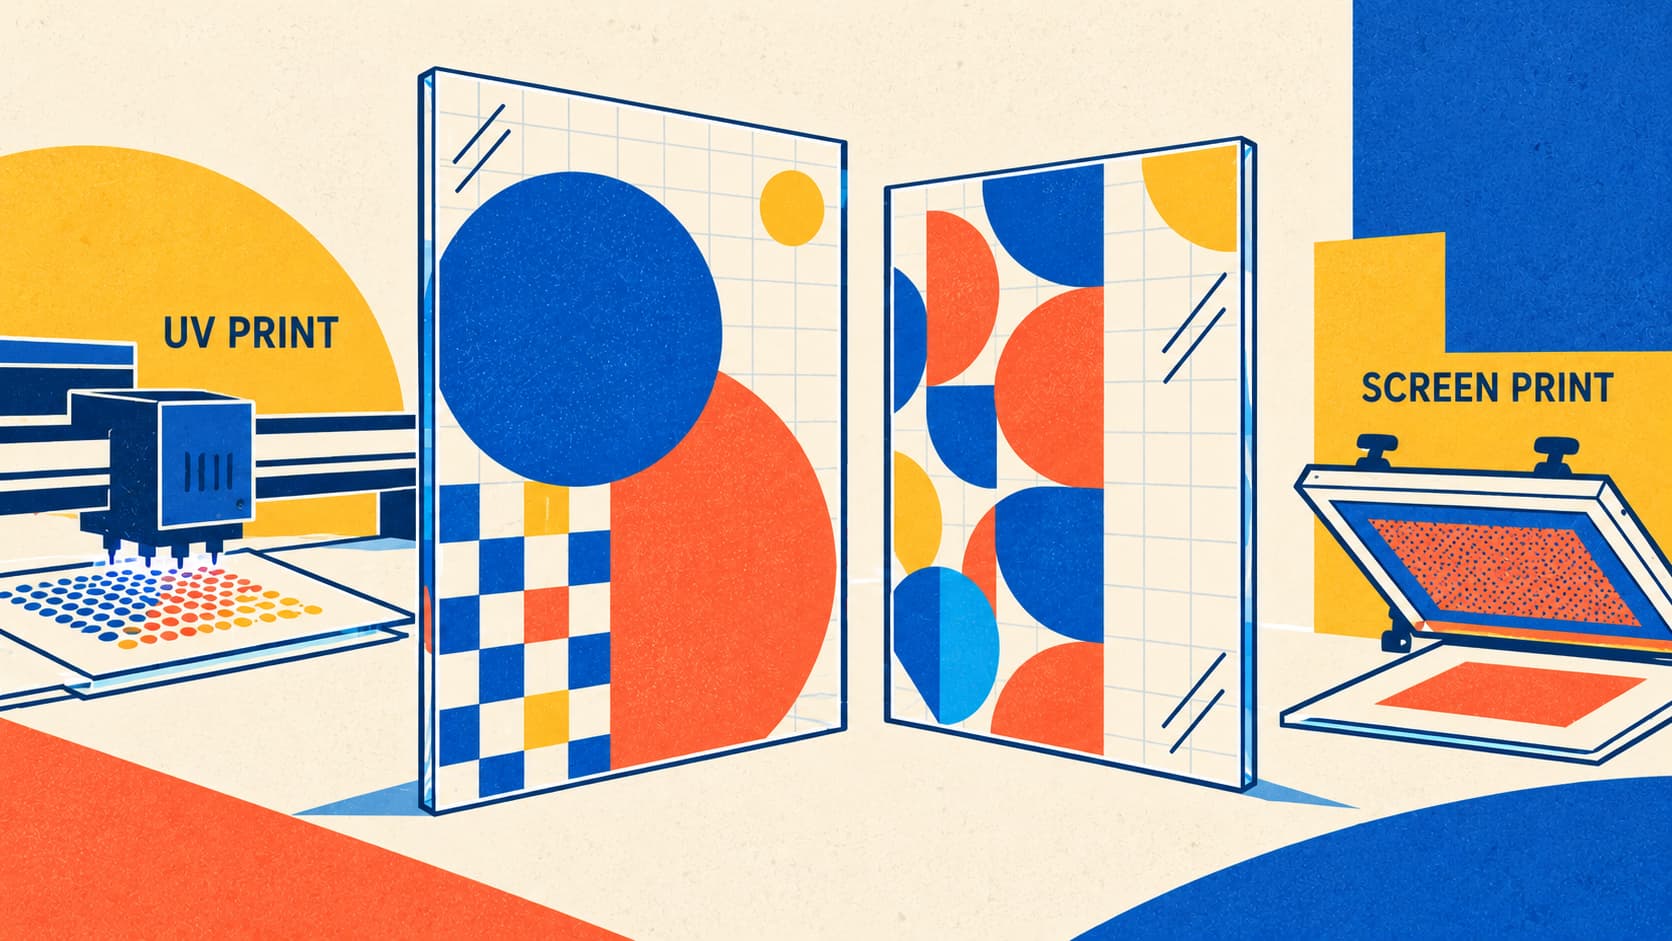
You can print directly on acrylic using a digital UV flatbed printer or a screen-printing system with ink suited to the sheet. On clear acrylic, the design can sit on the front surface or on the back, where it is viewed through the material.
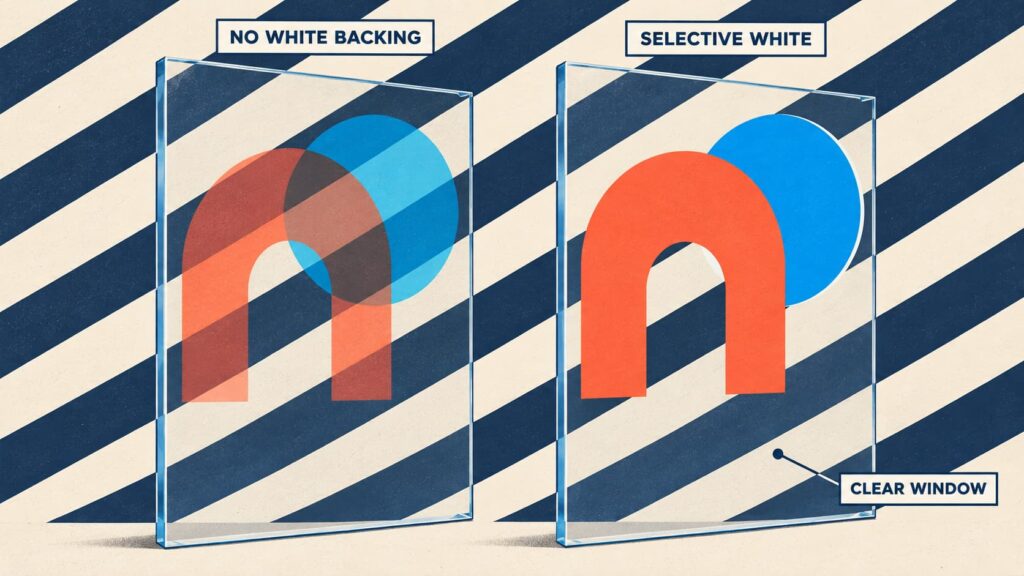
That choice changes how the image must be prepared. White ink also changes the result: it can make colors opaque, leave selected areas translucent, or preserve clear windows around the graphic.
The method puts the image on the sheet. The acrylic and ink layers determine how you see it.
UV Printing vs Screen Printing on Acrylic
Digital UV printing deposits ink directly onto acrylic and cures it with ultraviolet light. It handles photographs, gradients, detailed graphics, and changing artwork without a separate physical screen for each color.
Screen printing pushes ink through a stencil held on a mesh screen. The open areas transfer the image onto the acrylic. Each printed color normally needs its own screen and alignment, making setup more involved when a design contains several colors.
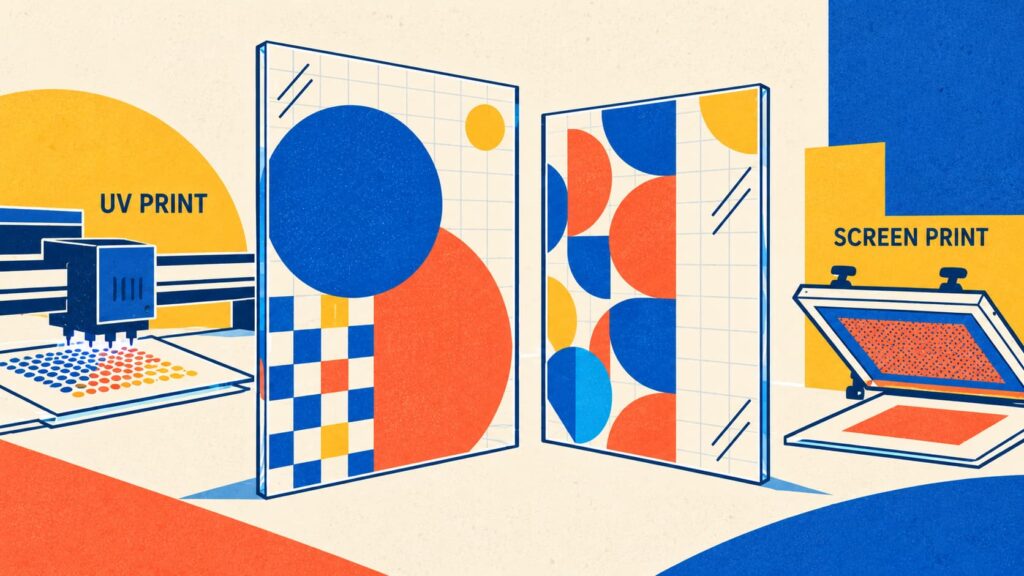
For repeated logos or solid-color graphics, that setup can be worthwhile. For a series of panels with different names or images, digital printing avoids remaking screens for each version.
| Design requirement | Digital UV printing | Screen printing |
|---|---|---|
| Photographs, gradients, changing artwork | A practical starting point | Requires suitable separations and additional setup |
| Repeated spot-color graphics | Compare the printed color and total cost | Worth comparing for dedicated spot colors and repeated runs |
| Opaque graphics on clear acrylic | White ink can provide backing | A compatible white ink layer can provide backing |
| Front or reverse printing | Possible with suitable artwork and ink | Also possible with suitable artwork and ink |
Scroll the comparison sideways on a small screen.
Here, “UV printing” means digital UV flatbed printing. Screen-printing inks can also be UV-cured; UV describes the curing process, while screen printing describes how ink is transferred. Nazdar’s substrate charts distinguish UV, LED, and solvent-based screen ink systems.[1]
Reverse printing describes the position of the graphic, so it can be combined with either method.
Why White Ink Matters on Clear Acrylic
Color printed onto a transparent sheet does not automatically become opaque. Light can pass through the printed areas, allowing the background to influence their appearance.
For example, a colored logo might look strong with a white surface behind the panel, then become harder to read against a dark interior. The artwork has stayed the same; the background has changed.
A white backing gives the color a more consistent background. Selective white ink means placing that backing only beneath the areas that need it. A logo can remain opaque while the surrounding acrylic stays transparent.
Those clear areas need attention in the file. Leaving out color while printing white across the whole panel will produce a white area, not a transparent window.
Backlit graphics introduce another consideration. White coverage affects how much light passes through the printed area, so an appearance judged under room lighting does not establish how it will look illuminated. Look at the printed sheet with the intended lighting both on and off.
Front Printing and Reverse Printing: Which Side Faces You?
With front printing, the image sits on the surface facing the viewer. For an opaque full-color graphic on clear acrylic, a common approach is to print white first, followed by color.
With reverse printing, also called second-surface printing, the image sits on the back of a transparent sheet. You look through the acrylic to see it. The artwork is mirrored for that viewing direction, and a common opaque-color arrangement puts color against the acrylic, followed by white behind it.
Mimaki’s acrylic printing example demonstrates these corresponding front and back layer orders.[2]
Choose the viewing side before you choose the ink order. The word “underbase” alone can be misleading when the same graphic is viewed from the opposite side.
Reverse printing leaves the front acrylic surface uninterrupted and places the artwork behind it. That helps separate the ink from contact on the front, although the acrylic can still scratch and the exposed rear print still needs protection.
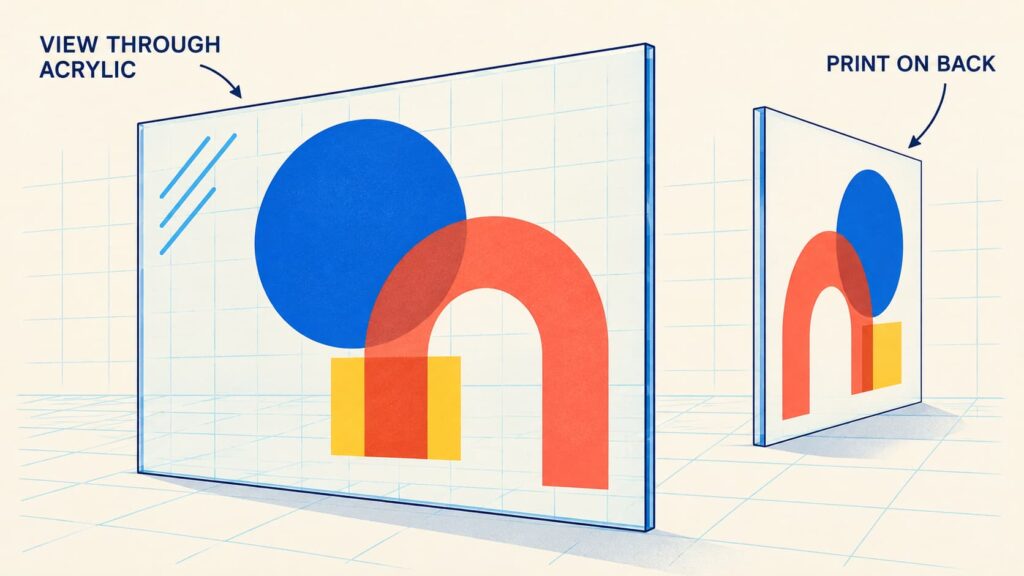
Preview text and logos from the intended viewing side. If the printing software handles mirroring, applying another mirror operation in the artwork can undo the correction.
Which Acrylic Sheets Work for Printing?
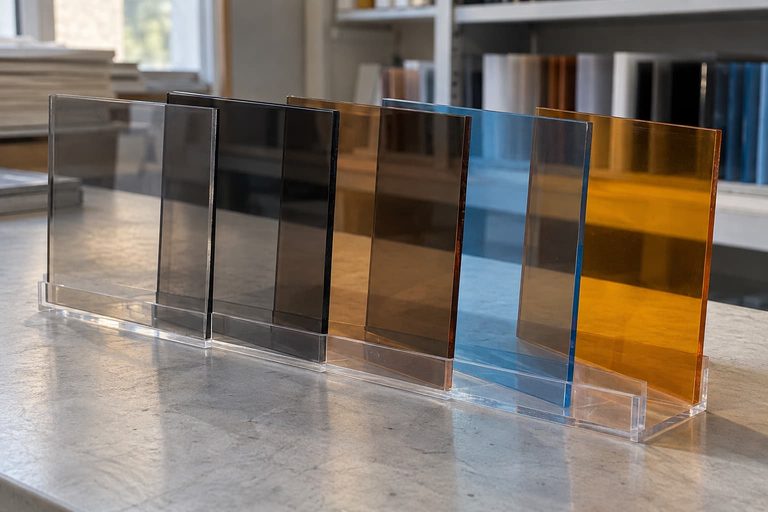
Smooth clear acrylic sheets suit designs that need transparent areas or graphics viewed through the panel. White opaque acrylic provides a different starting background. Colored acrylic contributes its own color unless the print structure provides sufficient masking.
Frosted and textured sheets need a closer look at both faces. Texture changes the viewing surface, while the surface being printed must also suit the ink. A single-sided frosted sheet and a sheet textured on both sides should not be treated as interchangeable.
Cast and extruded acrylic both appear in printing applications. Neither label, by itself, establishes ink adhesion. The specific grade and surface matter: ACRYLITE digital print pop touch, for example, is an extruded product with printable cap layers developed for UV-curable inks.[3] That is a particular grade, not a property to assume for every extruded sheet.
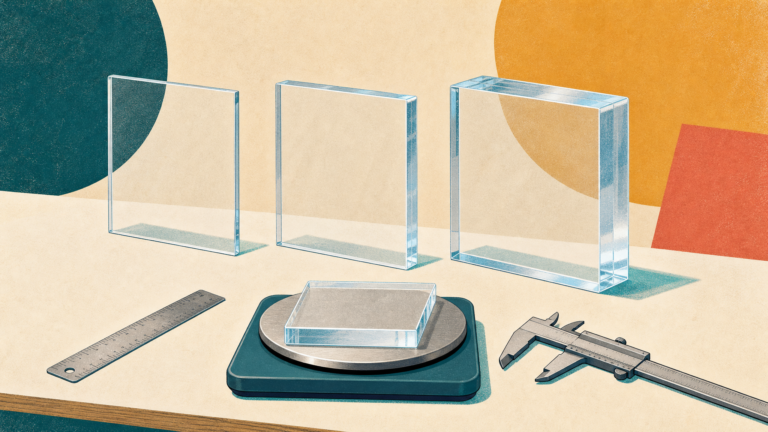
Thin sheets also need reliable support. Hold them flat during printing so their position relative to the printhead remains controlled. The thickness needed in the finished panel then depends on its size and mounting: a framed insert and a freestanding panel have different demands. The acrylic sheet thickness guide explains that relationship further.
How to UV Print on Acrylic: Six Practical Steps
Prepare the artwork and white-ink areas
Set the final print dimensions, viewing direction, and position on the part. Specify where white ink belongs and where the sheet must remain transparent. Include cutouts or holes in the layout when the graphic must align with them.
Remove the protective masking from the print surface
Keep the sheet protected until surface preparation is needed, then expose the side being printed. Check for residue rather than assuming a freshly uncovered surface is ready. Handle it by the edges to limit fingerprints.
Clean and control dust
Use a preparation method compatible with the acrylic grade and ink. A cleaner that removes grease can still leave residue or affect the sheet. ACRYLITE’s printing guidance identifies contamination, masking, and curing as adhesion variables, and cautions that prolonged or repeated alcohol exposure can cause crazing—fine cracks in the acrylic.[4]
Secure the sheet and set the printing height
Keep the panel flat and locate it consistently on the bed or fixture. Set the printhead clearance using the machine’s instructions. Check both the sheet edge and the artwork position before starting.
Run a small print with the intended layer structure
Use the actual sheet grade, ink, and white-ink arrangement. Primer is an option within a compatible system; its need should be established through the material and ink guidance and a trial print. Follow the prescribed curing settings rather than treating maximum lamp power as a universal improvement.
Examine the result from the correct side
Check text direction, color, white coverage, and alignment. Assess adhesion after the ink system’s specified conditioning period. For a frequently wiped panel, include the intended cleaning method: a good-looking print alone does not establish cleaning resistance.
Screen printing follows a related preparation sequence. Prepare the color separations and screens, choose an acrylic-compatible ink, locate the sheet, print each layer, and allow the required drying or curing between operations. The ink system determines those conditions.
Common Acrylic Printing Problems
Several defects can look similar while having different causes. Use the symptom to decide what to examine first.
Surface contamination, masking residue, ink compatibility, primer requirements, and curing
White backing, sheet color, viewing direction, and lighting
Alignment between color and white layers; the white artwork may need a controlled inset
Dust, static, surface residue, and printer condition
A repeated test is most useful when you change one variable at a time. Adding primer, increasing white ink, and changing curing together may improve a sample while leaving the original cause unclear.
For outdoor graphics, consider the complete printed construction. Weather-resistant acrylic does not establish the weather resistance of the ink, backing, or coating applied to it.
Can You Cut, Bend, or Bond Acrylic After Printing?
Printing and fabrication need to work together. Printing a flat panel may provide access that disappears after assembly, but later operations can affect the graphic.
Cutting through a printed edge can affect its appearance.
A bend through a printed area exposes the ink to heat and deformation.
Adhesive applied over a graphic makes the printed layer part of the joint.
Each situation needs a compatible process and an appropriate trial.
Work from the finished shape when deciding the sequence. A flat printed insert needs a different trial from a component with a heated bend through its artwork. Examine the result after the operation most likely to change it.
The practical starting point is the intended appearance: which side is viewed, which areas stay clear, and which need opaque color. From there, the printing method and sheet can be chosen around the result.
For a design that combines printed graphics with cutouts or bends, share the artwork and panel drawing with Grandview Acrylic to discuss the sheet and fabrication together.
References
[1] Nazdar — Screen Ink Substrate Reference Charts
Ink-system categories and substrate compatibility. Read the technical source.
[2] Mimaki — Welcoming Board: Acrylic Printing Application
Typical front and reverse color/white printing sequences. Read the technical source.
[3] ACRYLITE — Digital Print Pop Touch Technical Information (PDF)
A specific extruded grade with printable cap layers; not a claim about all extruded acrylic. Read the technical source.
[4] ACRYLITE — Painting & Printing Technical Information (PDF)
Surface preparation, ink adhesion and curing considerations. Read the technical source.