Acrylic care · Surface protection
The film is the sheet’s first instruction manual
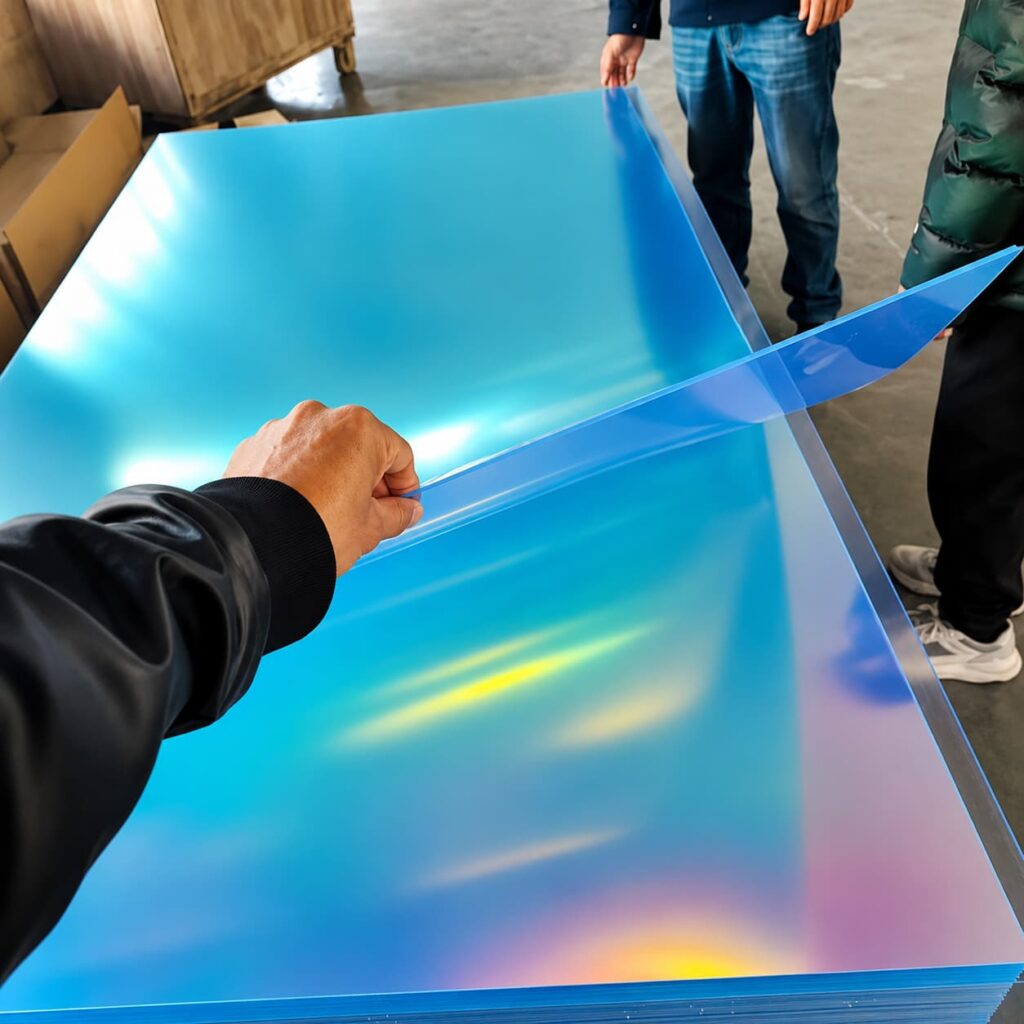
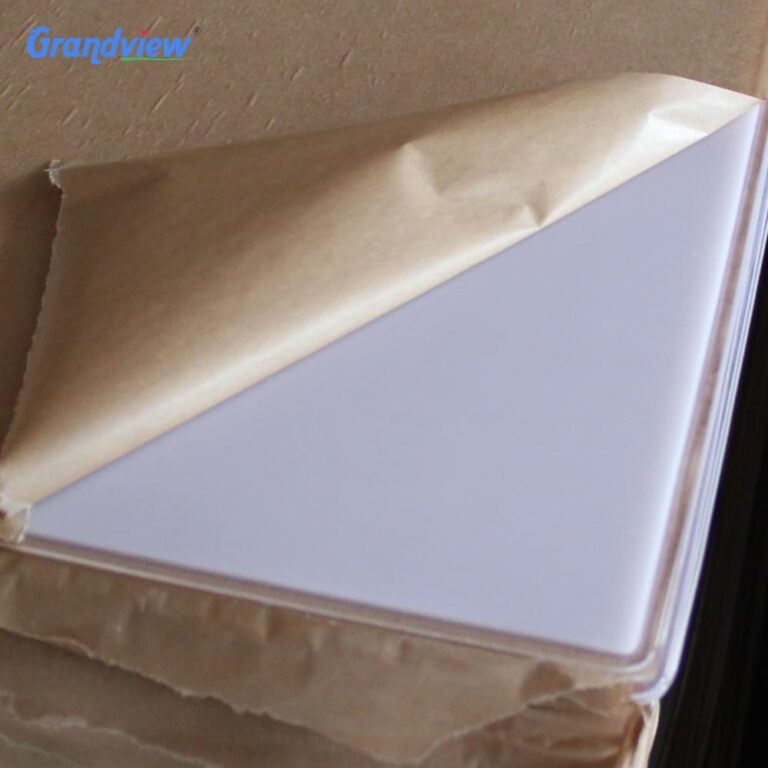
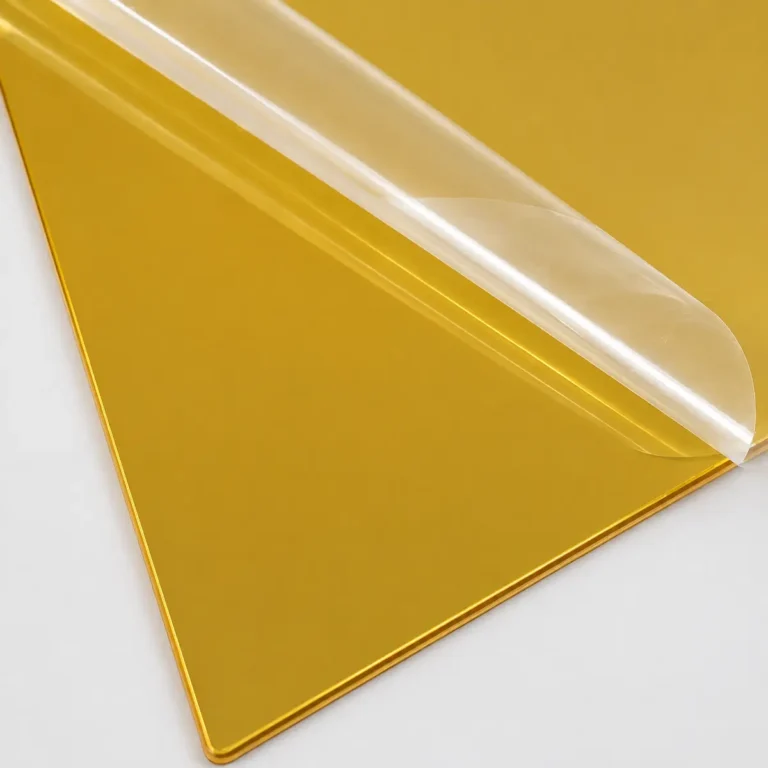
To remove protective film from acrylic, let the sheet reach room temperature, lift one corner with a fingertip or the edge of a plastic card, and pull the film back slowly and evenly. Clean off any adhesive left behind with mild soap and lukewarm water on a soft cloth.
Don’t use razor blades, acetone, alcohol or glass cleaner. The film rarely damages the sheet. The tools people grab when it won’t come off usually do.
That covers today’s sheet. The more useful lesson is why the film is there at all. A sheet arrives masked on both faces because its surface scratches more easily than glass, because some common chemicals can attack it, because heat and sunlight change how the film behaves, and because the bare surface picks up static as soon as the masking comes off. These are the same properties that decide where acrylic works well and how it should be machined, installed and cleaned.
The film is the first thing acrylic asks you to respect, and it tells you how to treat the sheet for the rest of its life.
How to Peel the Film Without Marking the Sheet
- Work at room temperature. Film that is cold goes stiff and tears. Film peeled while the sheet is still warm from a container, a loading dock or a sunny window is more likely to leave adhesive behind.
- Clear the surface underneath. Once the film is off, grit on the bench will scratch the bare face. Lay the sheet on a clean, soft surface.
- Start at a corner. Lift it with a fingertip or a plastic card, never a knife or a fingernail dragged along a flat edge.
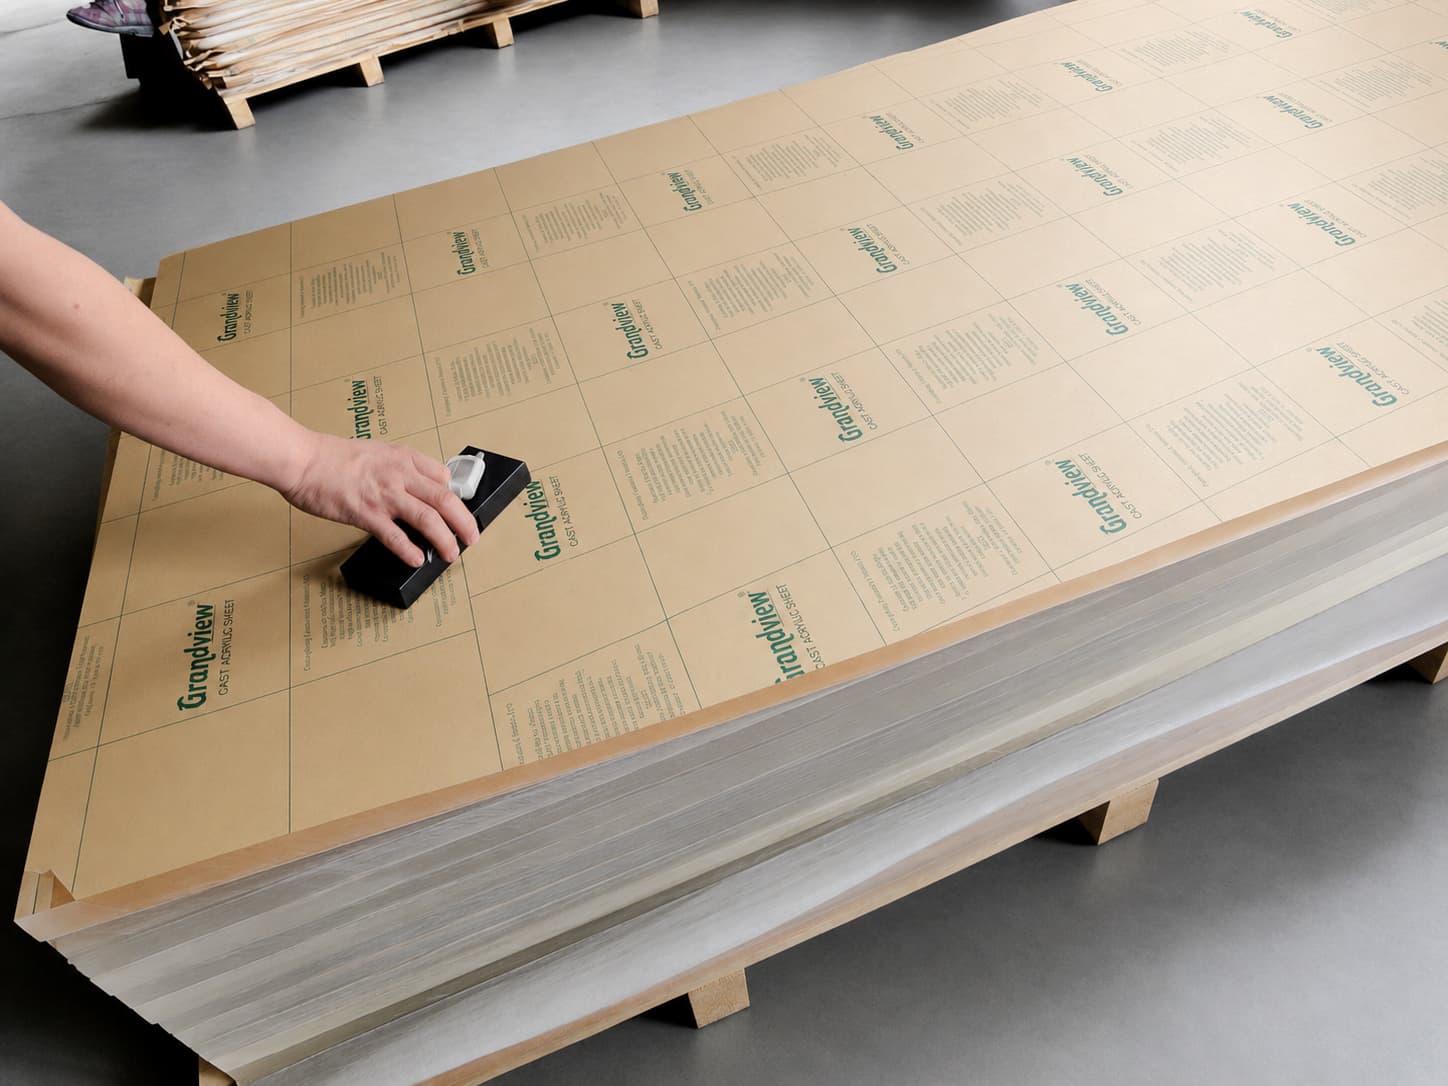
- Pull slowly in one direction. A steady pull separates the film cleanly more often than a jerk or a change of direction. On large sheets, paper masking can be rolled onto a cardboard tube as it comes off, which keeps the pull even.[1]
- If it tears, restart from the nearest corner rather than picking at the torn edge in the middle of the panel.
If residue remains, wash it with diluted mild soap and lukewarm water, rinse, and blot dry. The rest of this article covers what to do when that is not enough, and how to avoid getting there.
Why the Film Is There in the First Place
Acrylic is valued because it is clear, glossy and easy to fabricate. Its surface, though, is softer than glass. A grain of sand dragged across it leaves a mark that would not show on a window.
On most products those marks matter more than they would on other materials. A scratch on a clear cover is something you look through. On mirror acrylic, the reflection makes it more visible. On a backlit panel, light catches it. So the masking stays on through storage, cutting and transport, and the safest moment to take it off is usually as late as possible.
Sheets are normally masked with either paper or polyethylene (PE) film. Paper masking can be written on with an ordinary pen, which helps when marking cut lines. PE film is smooth and often transparent or tinted, so the sheet can be seen through it.[1] The removal method is the same for both, but paper that has aged tends to tear into small pieces rather than peel off in one sheet.
Why Film Gets Stuck, and How to Keep It From Happening
When people search for help with film that won’t come off, the story is usually the same. A skylight was installed with the film still on and left outside for a summer. A sheet sat in a hot garage for years. A window went in “temporarily” and nobody peeled it.
The causes are predictable:
- Heat. Warmth softens the adhesive and lets it flow deeper into contact with the surface. Masked sheet should be kept away from radiators, steam pipes and other heat sources.[1]
- Sunlight and outdoor exposure. ACRYLITE’s guidance is that masked sheet should never be left in direct sunlight or outdoors for more than 8 hours.[2] That limit surprises most people, because “outdoor” in practice often means weeks on a site or months in service.
- Time after installation. The same guidance says masking should be removed soon after installation. Film is packaging. It isn’t meant to stay on in service.
- Solvent vapour. Sheets stored near spray booths or other solvent fumes can be damaged through the masking.[1]
- Pressure and dirt. In horizontal stacks, chips trapped between sheets can be pressed through the masking by the weight above them.
Most stuck film is a storage or scheduling problem. Peeling harder doesn’t fix it.
When the film has already baked on
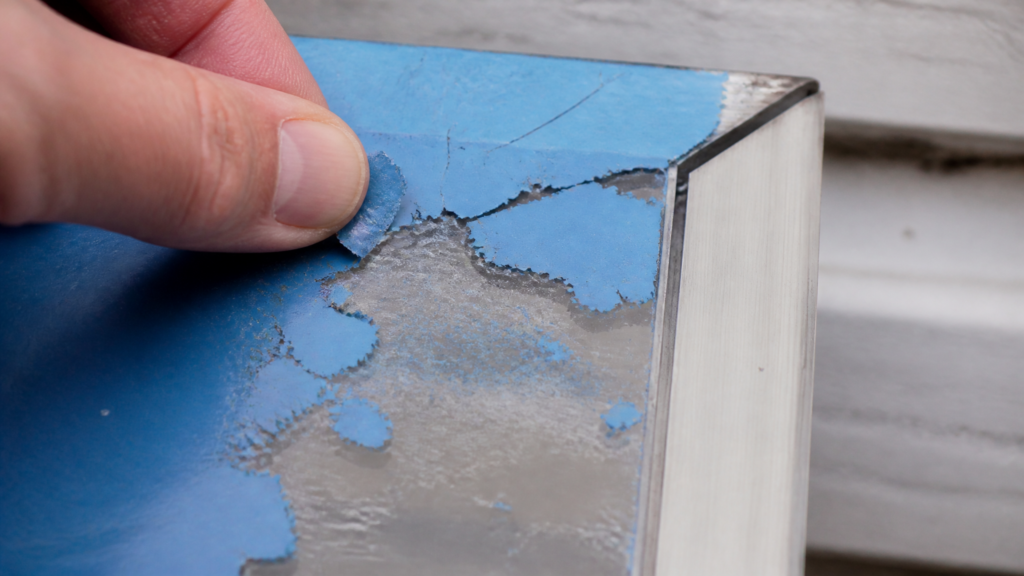
Be realistic here. Hardened adhesive will not come off with a better peeling technique. ACRYLITE notes that moistening the hardened adhesive with aliphatic naphtha, hexane or kerosene helps soften it. It warns against gasoline and sharp-edged tools such as razor blades, and says any oily film the solvent leaves should be washed off immediately.[1]
Two precautions matter more than the choice of product. First, test on an offcut or an unseen corner of the same material, because printed, coated and mirror-backed sheets don’t all react the same way. Second, keep solvents away from cut edges, drilled holes and bends, for reasons covered in the next section. If the parts are expensive or there are many of them, photograph the film and the surface and ask the supplier before experimenting.
Residue, Alcohol, and Why Online Advice Disagrees
Ask a forum whether alcohol is safe on acrylic and you will get two confident answers. Some people have wiped acrylic with alcohol for years without a problem. Others have photos of a sheet covered in fine cracks.
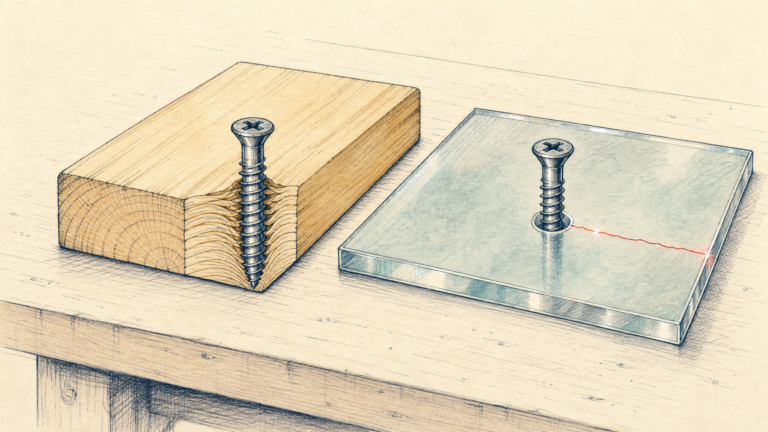
Both can be true, because the outcome depends on where the chemical lands. A flat sheet with no stress in it may tolerate brief contact. A laser-cut edge, a drilled hole, a bent corner or a panel clamped tightly in a frame is already stressed, and that is where certain chemicals cause crazing, a network of fine surface cracks that can appear hours or days later. The same mechanism explains why acrylic sometimes crazes around screw holes.
Cleaning freshly unmasked acrylic
✓ Use
- Mild soap or detergent in lukewarm water
- Soft microfibre or cotton cloth, light pressure
- Rinse and blot dry
✕ Avoid
- Window-cleaning sprays and kitchen scouring compounds
- Acetone, gasoline, benzene, alcohol, carbon tetrachloride, lacquer thinner
- Dry or gritty cloths, blades, scrapers
Based on ACRYLITE care guidance[1] and Grandview’s care instructions for installed acrylic windows.
Those chemicals can scratch the surface or cause crazing. One more source of confusion is that clear polycarbonate looks almost identical to acrylic, and people often call both “plexiglass.” The two plastics don’t respond to solvents in the same way. Confirm which material you have before using advice written for the other.
For routine care of a finished panel, see how to clean mirror acrylic. The same rules apply to clear and coloured sheet.
The Ten Minutes After the Film Comes Off
Many scratches on new parts happen just after unmasking. The sheet was protected the whole way from the factory and becomes vulnerable on the installer’s bench.
Two things happen at once. The bare surface is now exposed to grit, and stripping the masking builds a static charge that pulls dust out of the air and holds it on the sheet. A compressed-air gun removes some of the dust, but much of it stays.[1] Wiping that dust off with a dry cloth grinds it across the surface.
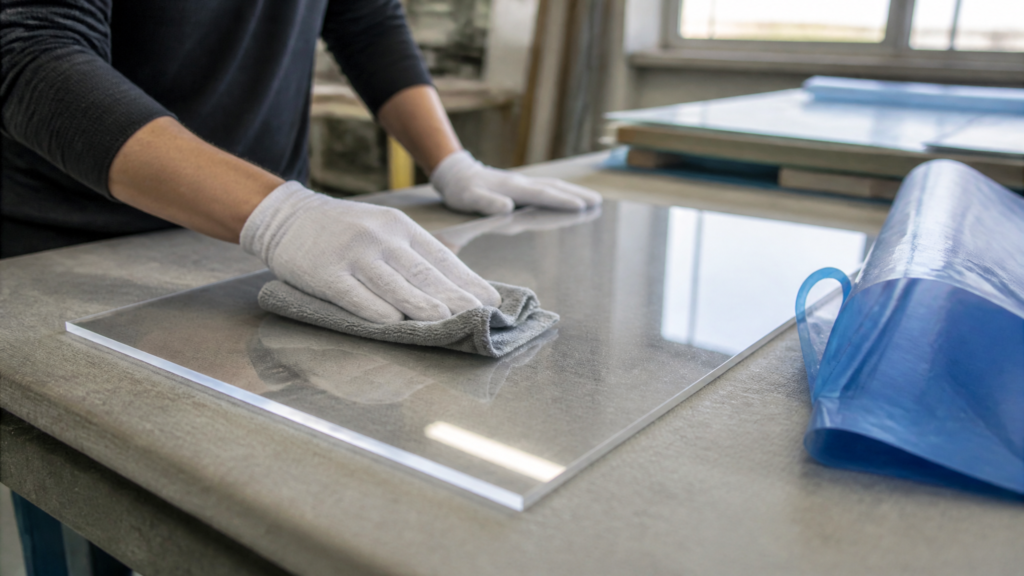
A few habits prevent most of the damage:
- Remove the film where the part will be used or assembled, not long before.
- Dust with a soft, damp cloth, never a dry or gritty one. Dry wiping also adds to the static.
- Don’t slide bare sheets against each other or across a bench.
- Store unmasked sheet in its original carton, and handle it as little as possible.
- Before printing, painting or bonding, neutralise the static. Ionising air guns and anti-static plastic cleaners are the usual tools.[1]
Keep It or Peel It: The Film Through Each Fabrication Step
Removal is only half the question. In a fabricated part, the film passes through several operations, and each one needs a decision.
The rule
If the next step only touches the facecutting, drilling, handling, shipping→ keep the film on
If the next step needs the faceheat forming, printing, bonding, final inspection→ peel just before that step, not days earlier
| Step | Film usually | Why |
|---|---|---|
| Storage and transport | On, both faces | Protects against scratches and dirt; keep away from heat, sun and solvent vapour |
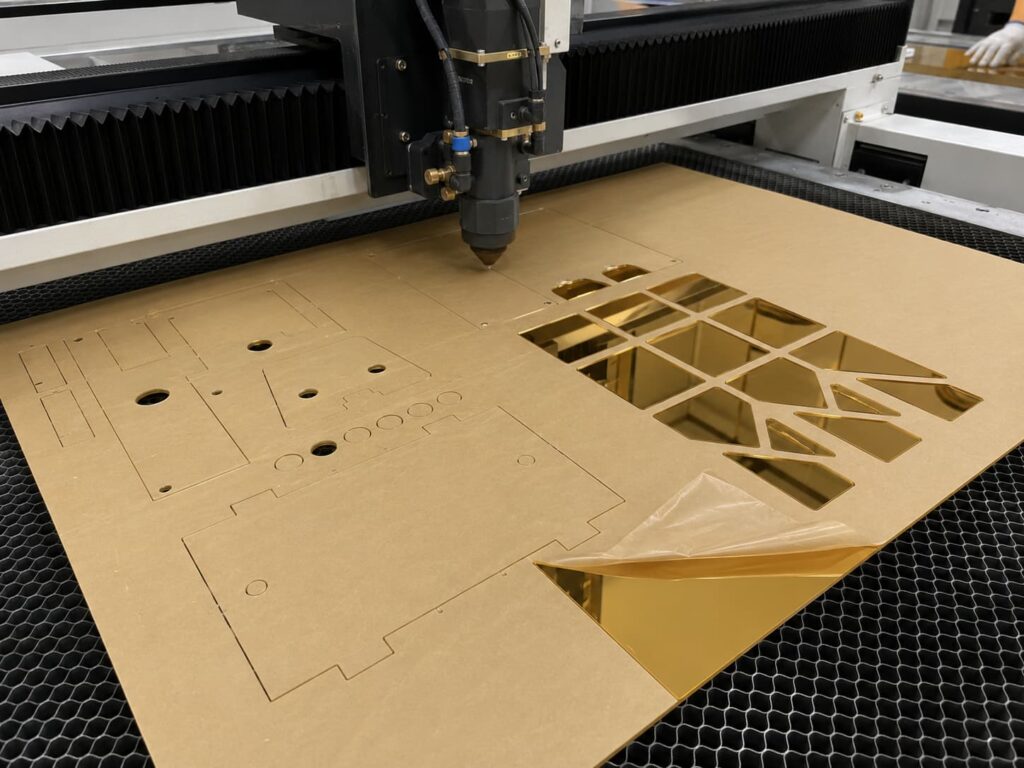
| Cutting to size, CNC routing, drilling | On | Masking is normally left in place for most fabrication to protect the surface[1] |
| Laser cutting and engraving | Decided per job | Film type and laser settings both change the result at the cut line, so confirm it on a test piece. See CNC vs laser cutting acrylic |
| Edge finishing | Faces masked | Paper masking can be rolled back just far enough to work on the edge |
| Line bending and thermoforming | Often removed | Some heat sources require it, and the sheet must be dirt-free before heating. See thermoforming acrylic sheets |
| Printing, painting, bonding | Removed just before | The surface must be clean and free of static. See how to print on acrylic |
| Final installation | Removed once in place | Setup handling is a high-risk moment; long exposure bakes the film on |
Scroll the table sideways on a small screen.
The table shows why film handling belongs in the project plan rather than in someone’s memory. A cut-to-size blank going to a printer, a formed cover going to an assembly line and a panel going to a building site each need a different answer to “when does this film come off?”
Film After Installation: Signs, Guards, Windows and Displays
Once a part leaves the workshop, the question is who removes the film and when.
Outdoor panels, skylights, windows
This is where film most often bakes on. Plan its removal as part of installation, not as a later job. If other trades are working nearby, protect the bare surface without putting tape or adhesive labels on it, and keep paint overspray away.
Machine guards and equipment covers
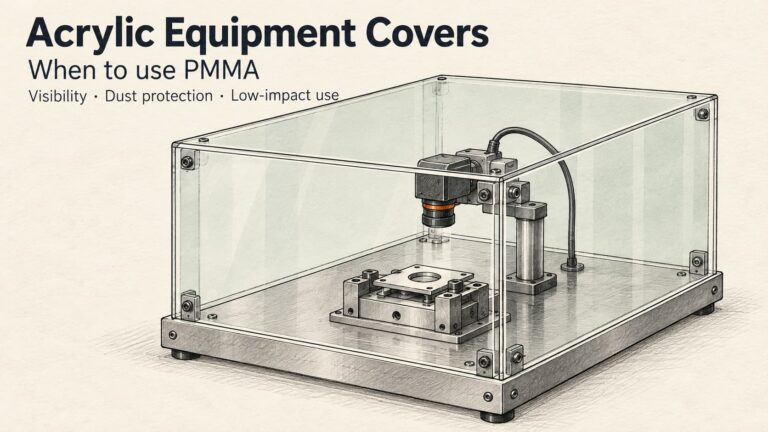
Often fitted by the equipment builder and used by someone else. A short note on the part or in the manual, covering film removal and which cleaners not to use, prevents many service complaints. See acrylic machine guards and equipment covers.
Retail displays and fixtures
Usually stay masked until they are positioned, because assembly and setup are when they get bumped and handled.
Inspect the part without the film. A sample still in its masking hasn’t really been inspected yet. Surface quality, small scratches and print alignment only show once the film is off and the part is under the light it will actually be seen in.
What the Film Says About Acrylic
Take the film away and each lesson above still applies to the sheet.
The surface scratches more easily than glass
Where acrylic earns its place: clear covers, display faces, mirror and backlit panels where appearance is the point.
What it asks: keep faces protected until late; clean with soft, damp cloths.
Some chemicals attack it, especially where it is stressed
Where acrylic earns its place: bonded assemblies, where suitable cements join acrylic to acrylic.
What it asks: match cleaners, sealants and tapes to the material, and keep solvents off edges and holes.
Heat and sunlight change the film, and the sheet responds to heat too
Where acrylic earns its place: parts shaped by controlled bending and thermoforming.
What it asks: keep masked sheet out of the sun; choose the grade for the environment (see UV-resistant acrylic sheets).
The bare surface builds static
Where acrylic earns its place: printed and decorated parts with clean, bright faces.
What it asks: neutralise static before printing, painting or bonding.
The film travels through every process
Where acrylic earns its place: drawing-based parts that are cut, drilled, polished and assembled precisely.
What it asks: decide where the film stays on and where it comes off at each step.
None of these is a reason to avoid acrylic. They are simply the conditions under which it stays clear, glossy and crack-free. A team that handles the film well is usually handling the sheet well too.
FAQ
Does acrylic come with protective film on both sides?
Most acrylic sheet is masked on both faces. Fabricated parts vary: a face that will be bonded or printed may already be unmasked, so check before peeling a face that was meant to stay protected.
Can I put tape or labels on bare acrylic to protect it?
Avoid adhesive tapes and labels on the bare surface unless the product is known to be compatible and to release cleanly. Adhesives and packaging materials are among the things that can craze or discolour acrylic.[1] If a surface needs protection after the original film is gone, ask for a suitable protective film rather than improvising.
How long can protective film stay on acrylic?
There is no single safe period. It depends on the film, the adhesive, the surface, and above all on heat and sunlight. Indoors at moderate temperature, film lasts a long time. In direct sun or outdoors, ACRYLITE puts the limit at 8 hours.[2]
Planning parts that need the right film at the right time? If your acrylic will be cut, machined, formed, printed or bonded, tell us which process comes next and how and where the parts will be installed. Send the drawing to Grandview Acrylic and the film and packing can be planned for each step, so the parts reach the next operation protected and ready to use.
References
[1] ACRYLITE — Care, Cleaning & Storing Acrylic Sheet (Technical Information)
Storage, masking types, masking removal and softening hardened adhesive, washing, materials to avoid, static neutralisation. View source
[2] ACRYLITE — How to remove paper masking from ACRYLITE sheet (Knowledge Base)
Masked sheet should not be left in direct sunlight or outdoors for more than 8 hours. View source