LED diffuser materials · PMMA vs PC
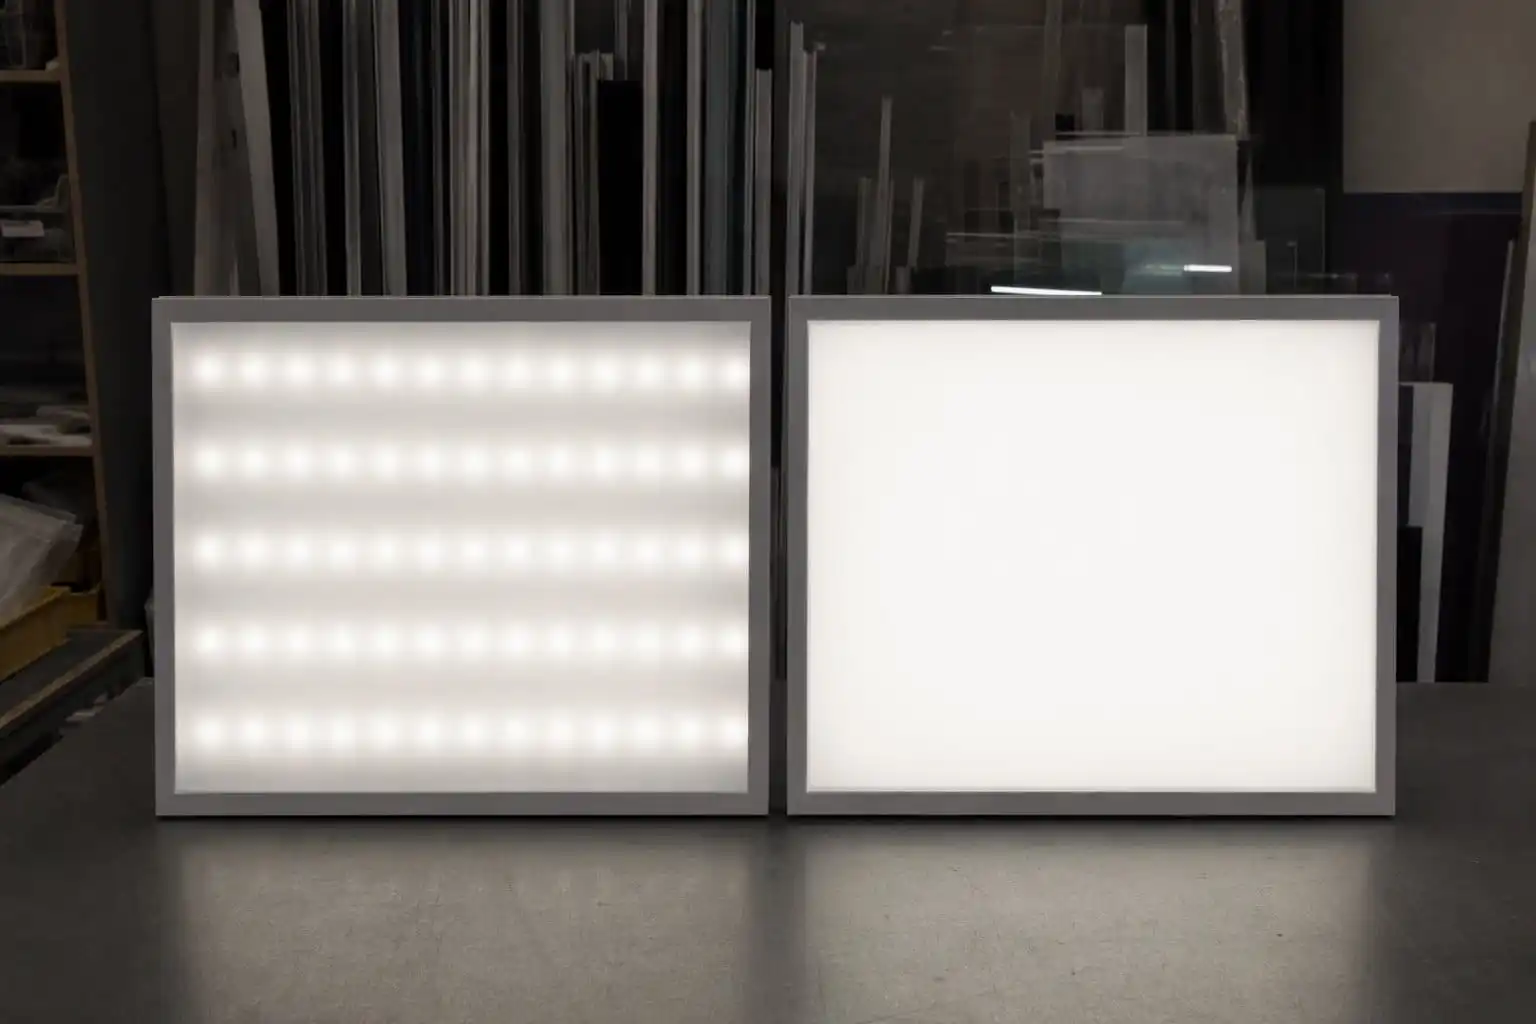
Two white sheets look the same until the LEDs turn on
Choose acrylic (PMMA) for most indoor LED panels, lightboxes and backlit retail fixtures, where brightness, neutral white color, clean laser-cut edges or long-term UV stability lead the specification. Choose polycarbonate (PC) when the fixture must survive impact, a flame-rating requirement, a hot enclosed channel or a snap-fit installation that bends the cover.
Polycarbonate protects the fixture from the room.
Acrylic protects the light from the plastic.
Start with acrylic when…
- light output and a neutral white point matter
- parts are laser cut or have visible edges
- the sheet faces sunlight or a window
- the panel sits in a frame or slides into a track
Start with polycarbonate when…
- a code or client requires a UL 94 V-rated cover
- the fixture can be hit, kicked or vibrated
- the cover clicks into a channel by flexing
- the enclosed cavity runs hotter than acrylic tolerates
Both materials can be compounded to hide LED dots, so the choice is rarely about which sample looks whiter in your hand. It is about which set of optical, mechanical and workshop limits your fixture can live with. The table below summarizes those limits; the sections after it explain where each one comes from.
| Decision factor | Acrylic (PMMA) | Polycarbonate (PC) | Why it matters |
|---|---|---|---|
| Light through a diffused sheet | Depends on diffusion grade and thickness | Depends on diffusion grade and thickness | More hiding power always costs some brightness, in either plastic |
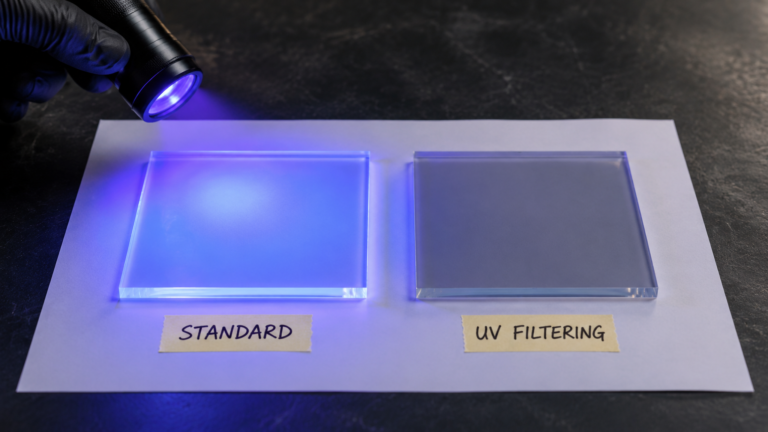
| Base color and yellowing | Neutral; inherently UV stable | Can carry a slight tint; needs UV stabilizing outdoors | Shows up as color shift on 3000–4000K retail and architectural lighting |
| Impact behavior | Rigid; can crack under a sharp blow | Very tough; absorbs blows and vibration | Decides transit, gym, school and low-ceiling fixtures |
| Flame rating | Typically UL 94 HB | Flame-retardant grades published to UL 94 V-2 / V-0 [1] | Some building specifications rule out HB covers |
| Heat in the cavity | Lower continuous service temperature | Higher continuous service temperature | Matters in narrow, unventilated high-output channels |
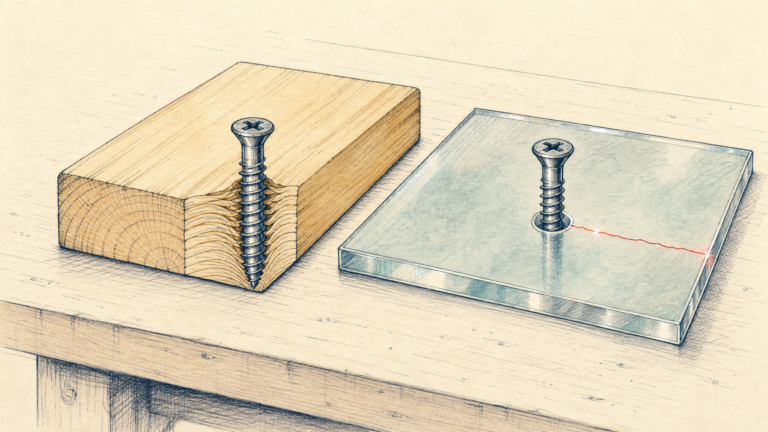
| Mounting | Stiff: frames, drop-in grids, slide-in tracks | Flexible: snap-in covers, cold-curved lenses | A thin acrylic leg forced over an aluminum lip can snap |
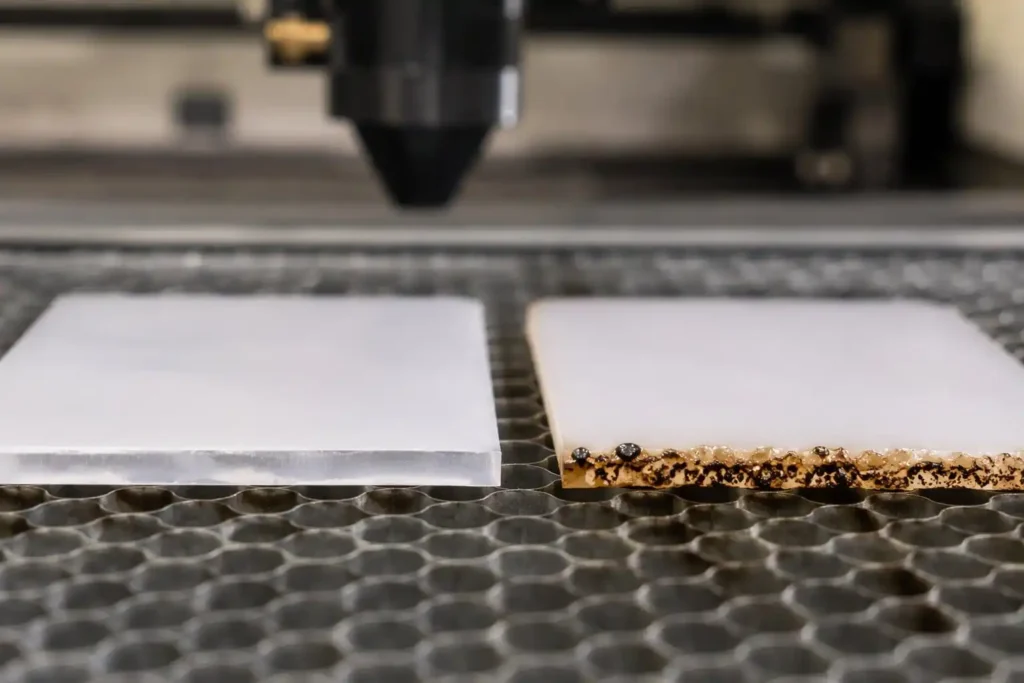
| CO2 laser cutting | Clean, glossy edge | Discolored, charred edge; route or punch instead | Complex cutouts and exposed edges favor acrylic |
Swipe the table sideways on a small screen.
The 92% transmission myth: how diffusers really handle LED light
Many comparison charts say an acrylic diffuser transmits about 92% of light and polycarbonate slightly less. Those figures describe clear, undiffused sheet, not a white panel that can hide a row of LEDs.
Transmission (how much light gets through) and diffusion (how widely it is scattered) pull in opposite directions. To blend bright diode points into an even glow, the sheet needs light-scattering particles in the resin, a textured surface, or both. Every step up in hiding power sends more light sideways and backward, so less of it leaves the front face.

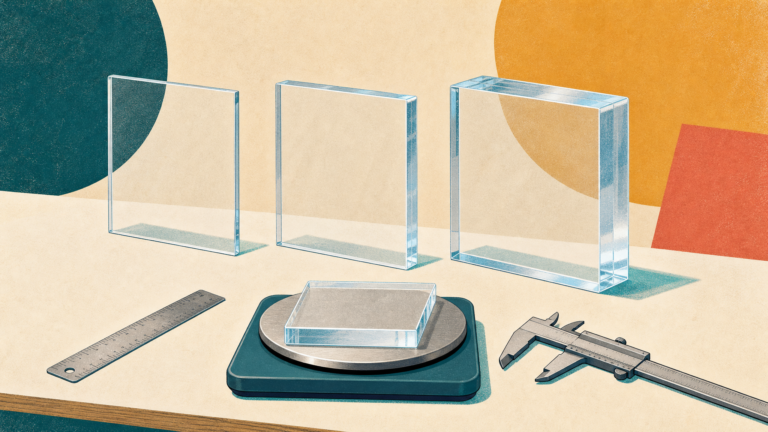
Published data for one engineered polycarbonate LED diffuser series shows the size of that trade-off. Measured to ASTM D1003, the same mid-diffusion grade transmits 88% at 1.5 mm but 77% at 3.0 mm, while a heavy-hiding warm-white grade at 3.0 mm passes about 55% [1].
Acrylic diffusers follow the same optical rule. Grandview’s light diffuser acrylic sheets are offered across a 55% to 95% transmittance range for exactly this reason: the right grade depends on how hard the sheet has to work to hide the source. Neither material delivers clear-sheet transmission and full hotspot hiding in a shallow fixture at the same time.
The diffuser also filters color
Light bounces many times inside a diffused sheet before it exits, so the resin’s base tint and the warm or cool formulation of the diffusing additive both act on it. In the same polycarbonate data set, different grades and thicknesses placed in front of a 6000K LED shifted the measured color temperature from about 100K cooler to more than 350K warmer [1].
Over a warehouse aisle, a shift of a few hundred kelvin rarely matters. On a cosmetics counter or a wall of identical backlit panels, it is the difference between crisp white and a faintly yellow box. Neutral, optical-grade acrylic keeps the white point closer to the LED you specified.
Hotspots are a cavity problem, not only a material problem
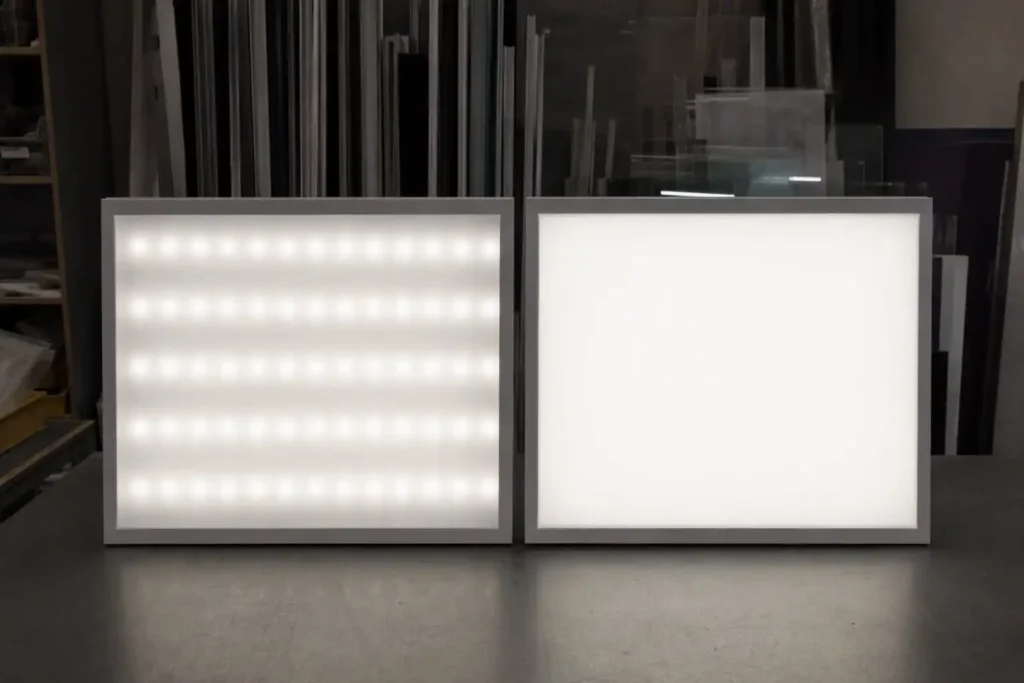
Switching from acrylic to polycarbonate, or ordering a thicker sheet, will not automatically cure LED spotting. Whether individual diodes show through depends on two distances: the setback D, the air gap between the LEDs and the back of the sheet, and the pitch S, the spacing between neighboring LEDs.
When the cavity is deep relative to the LED spacing, light cones from neighboring diodes overlap before they touch the plastic, so even a fairly bright, lightly diffused sheet gives a uniform face. When a lightbox or linear profile is shallow, light arrives in concentrated beams. Hiding them then takes denser LED strips, a white reflective cavity, or a heavier opal grade that gives up some output. As a working rule of thumb, trouble usually starts once the setback falls below about half the pitch; the real threshold depends on the LED beam angle and the sheet grade.
Backlit diffuser or edge-lit light guide? Don’t confuse the job
One of the most expensive ordering mistakes in flat LED panels is buying a standard white diffuser for an edge-lit fixture. The two constructions put the LEDs in different places and ask the sheet to do different work.
In a direct-lit panel, the LED array sits behind the sheet, which scatters the light forward and hides the diodes. Here you choose between opal and frosted acrylic, or a prismatic lens where glare control matters.
In an edge-lit panel, the LEDs shine into the edge of a clear sheet. Clear acrylic traps that light by total internal reflection; a light guide panel uses scattering particles or a dot pattern to release it evenly across the face, usually under a thin diffuser layer [2]. Feed edge light into an ordinary opal sheet instead and it scatters out within the first few centimeters, leaving the middle dark.

When polycarbonate earns its higher price
Polycarbonate diffuser sheet generally costs more than acrylic of the same thickness. That premium is justified when one of four constraints rules acrylic out:
A flame rating is written into the spec
Standard acrylic is typically classed UL 94 HB (slow horizontal burn). Flame-retardant polycarbonate diffuser grades are published with UL 94 V-2 or V-0 ratings at stated thicknesses [1]. If a transit, healthcare or public-building specification calls for a V rating, that requirement decides the material before optics do.
The fixture can be hit, or is expensive to reach
Parking garages, gyms, school corridors, industrial bays and stations expose covers to balls, tools and ladders. A cracked lens six meters up means a lift and a maintenance crew; the material saving disappears in one call-out.
The cover snaps into a channel
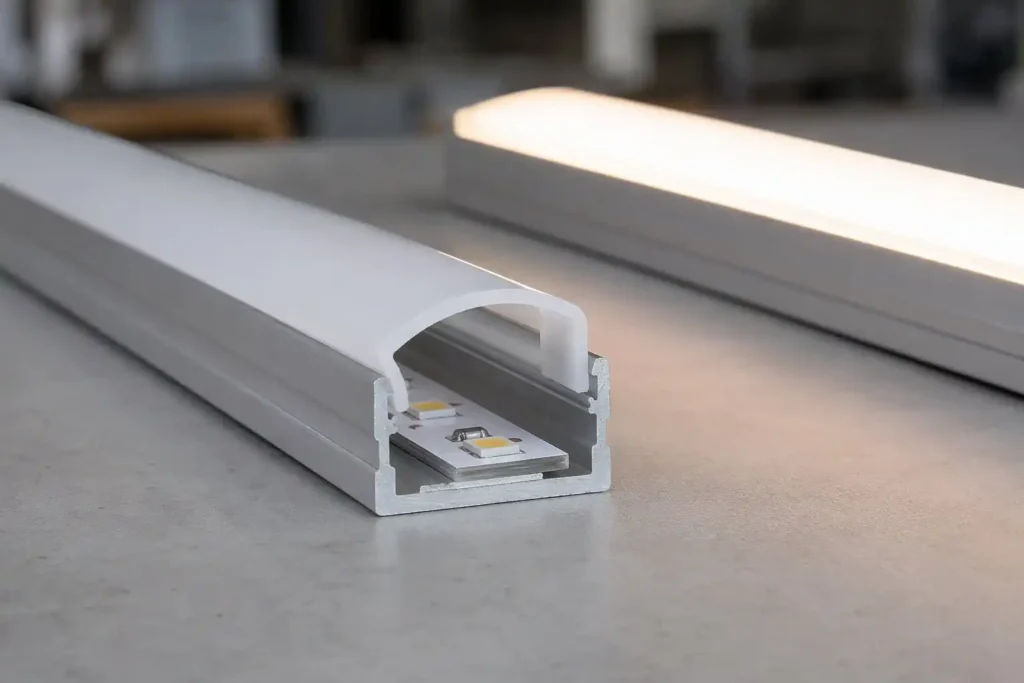
Many linear aluminum profiles use a cover with thin legs that flex inward and click into undercut grooves. Polycarbonate’s ductility lets those legs bend and recover. Acrylic is stiffer and more notch-sensitive, so a thin leg forced over a tight lip can break off.
The cavity runs hot
High-output LED strips in a narrow, unventilated housing can approach acrylic’s continuous service limit, which is lower than that of polycarbonate. Measure the sheet surface temperature in the real fixture rather than relying on room temperature; see acrylic heat resistance for the limits that apply.
Where acrylic is the stronger engineering choice
When none of those constraints apply, polycarbonate’s toughness comes with penalties in optics, weathering, stiffness and fabrication.
Sunlight and long-term color. Acrylic is inherently stable under UV. Unstabilized polycarbonate yellows and hazes with UV exposure, so outdoor PC relies on stabilized resin or a co-extruded protective cap layer. If that layer faces the wrong way, is scrubbed off or is machined away on a visible edge, yellowing returns. For backlit signs, canopy lighting and fixtures near skylights, how acrylic behaves under UV helps protect both output and color over the years.
Flat panels in frames. In a 600 × 600 mm troffer or a wide backlit display, the sheet rests on a perimeter lip instead of flexing into a groove. Acrylic’s higher stiffness and surface hardness help it stay flat and resist scuffing during cleaning. Whatever the material, broad thin acrylic sheets need enough frame capture and room to move: a 1,000 mm acrylic panel warming by 30 °C grows by roughly 2 mm. Wedge it tightly against the frame and it will bow once the lights warm up.
How cutting and mounting split the two materials
Rectangular drop-in sheets sawn to size are straightforward in either plastic. As soon as the drawing includes round lamp faces, sensor cutouts, exposed polished edges or bent returns, the workshop route often decides the material before the lighting designer does.
| Step | Acrylic diffuser | Polycarbonate diffuser | Practical rule |
|---|---|---|---|
| CO2 laser cutting | Cuts cleanly with a smooth, glossy edge | Absorbs the heat, melts and discolors | Laser-cut shapes or visible edges: specify acrylic |
| CNC routing and drilling | Routes cleanly with sharp tooling, support and hole clearance | Very forgiving; can be routed, punched or drilled near edges | Custom PC shapes: route or punch, don’t laser |
| Bending and forming | Thermoforms well into domes, wraps and letters | Thin gauges can be cold-curved; heat forming needs pre-drying | Deep forming thins corners and lets more light through, so check formed parts lit |
| Cleaning | Mild soap and water; avoid ammonia cleaners and strong alcohol | More sensitive to solvents, ammonia and strong degreasers | Put the cleaning method in the maintenance notes for both |
Mounting deserves the same attention as cutting. The three common fixings put very different demands on the sheet:
Matching common LED fixtures to a starting specification
Rather than asking which plastic is better, match the material to what the fixture must survive and how the part is made. These are starting points to confirm with a lit sample, not fixed specifications:
| Fixture | Usual starting material | Switch when… |
|---|---|---|
| Indoor LED flat panels and troffers | Opal or prismatic acrylic | The specification requires a UL 94 V-rated cover: use flame-retardant PC |
| Cosmetic, jewelry and POS lightboxes | Cast opal acrylic, chosen by transmittance | Rarely; close viewing, laser-cut shapes and color accuracy all favor acrylic |
| Linear aluminum LED profiles | PC for snap-in covers, acrylic for slide-in | The profile design changes the fixing method |
| Outdoor backlit signs and fascias | Cast diffuser acrylic | Low-level signs face vandalism or hail: use UV-protected PC |
| Transit, gyms, garages, industrial fittings | Diffused polycarbonate | The fixture is out of reach and protected: acrylic may be acceptable |
| Machine-vision backlights | Cast acrylic for laser-cut apertures and neutral color | The panel sits inside a cell exposed to tool strikes or coolants |
Validate the sample in the fixture, not on the desk
Approving a diffuser from an unlit swatch under office lights is the most common cause of a failed lighting rollout. An unlit sample only shows what the fixture looks like with the power off.
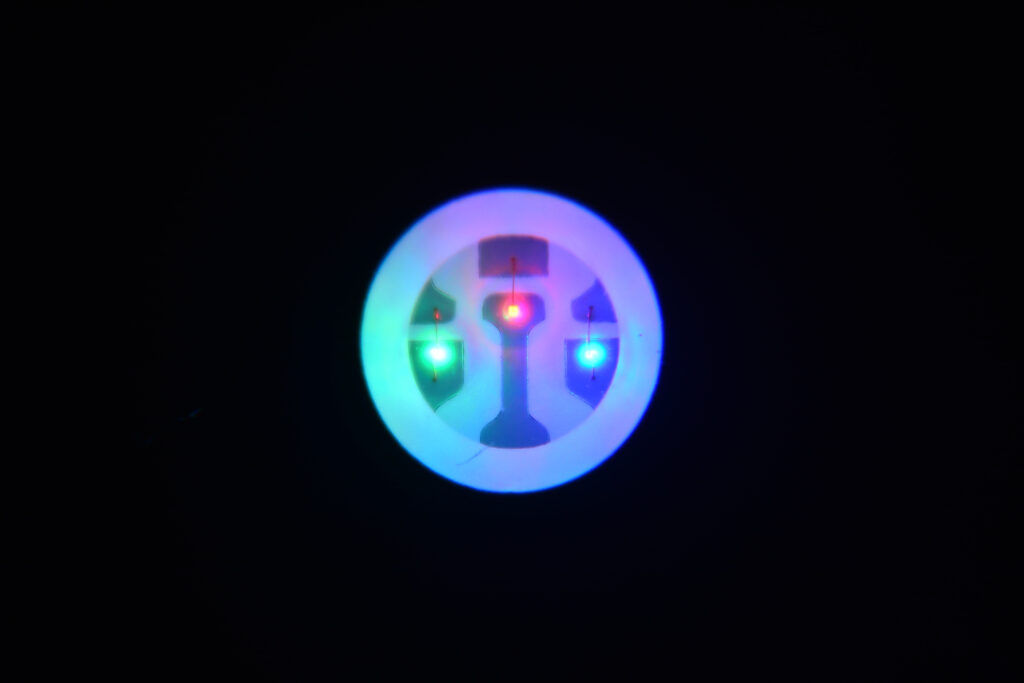
Use the real LEDs and the real cavity
Same strip or board, same pitch and color temperature, same setback, and the actual reflector or painted housing behind the sheet.
Judge it on and off
Lit: look for diode dots, dark bands between strips and any warm or gray shift. Unlit: check that the face looks uniformly white and hides wiring and drivers.
Record which face points out
Many frosted and textured sheets differ side to side. Note which face goes toward the viewer, and keep the masking film on through cutting.
Run it through the real process
Laser cut, route, drill or slide the sample exactly as production will, and fit-check it in the slot or frame against the stated thickness tolerance.
Planning an acrylic diffuser panel?
If your fixture points toward acrylic, Grandview Acrylic supplies diffuser sheets as full sheets, cut-to-size blanks or laser-cut and CNC-routed parts made from your drawing. To recommend a grade, we need to know how the light reaches the sheet:
- Lighting layout: backlit or edge-lit, LED pitch and cavity depth
- Target look: opal white, frosted or a transmittance range
- Part and quantity: thickness, sizes or DXF drawing, and order volume
Send your fixture details[email protected] · WhatsApp +86 133 1880 8573
Frequently asked questions
Why does my 3 mm diffuser still show LED dots?
The sheet cannot create mixing distance on its own. If the gap between LEDs and sheet is small compared with the LED spacing, each beam reaches the plastic before overlapping its neighbor. Add LEDs, line the cavity with a matte white reflector, deepen the housing, or move to a heavier-hiding opal grade and accept some loss of output.
Can I use a white acrylic or polycarbonate diffuser as an edge-lit panel?
No. A white diffuser scatters edge-fed light immediately, so the rim glows and the middle stays dark. Edge-lit fixtures need a light guide panel designed to carry light across the span before releasing it, normally with a thin diffuser in front.
Why did my polycarbonate edge turn brown after laser cutting?
Polycarbonate absorbs CO2 laser energy as heat and melts rather than vaporizing cleanly, which discolors and chars the edge. If the part needs laser-cut shapes or visible edges, use acrylic. If PC is required for impact or flame rating, route, punch or saw it instead. Our PMMA vs PC vs PS guide covers the identification side.
Does a thicker diffuser always hide hotspots better?
A thicker sheet scatters more, but it also passes less light. In published data, doubling one grade from 1.5 mm to 3.0 mm dropped transmission from 88% to 77% [1]. It is often more efficient to choose a stronger diffusion grade at the minimum thickness that keeps the panel flat across its span.
References
- Bayer MaterialScience — Makrolon® Lumen XT Sheet, Product Data Sheet (PDS112). ASTM D1003 transmission, diffusion and color-temperature shift data for 1.5 mm and 3.0 mm LED diffuser grades, plus UL 94 ratings. View source
- Röhm — PLEXIGLAS® LED for Edge Lighting, Technical Information (Ref. 212-15). Edge-lighting principle, light extraction and minimum bending radius for light guide sheet. View source